Posted on
2nd to 4th April 2014
So I finally got to take the Luxe sil hexPeak out into the fields for a test.
Now, this could have been just to a local location, but it wasn’t.
It went to the Monadhliath Mountains between Newtonmore and Aviemore.
It was thus going to encounter wind and rain.
Now, this could have been just to a local location, but it wasn’t.
It went to the Monadhliath Mountains between Newtonmore and Aviemore.
It was thus going to encounter wind and rain.
Since I got it, as you know, I have had a couple of issues.
Mainly with the inner tie points.
I have made these changes and also repairs myself, because rather than just send it straight back, I wanted to test it.
Also, since I have already seam sealed it with my own sealer, and also changed all of the main tent guys to 3mm, and sewn on the top loop properly, I did not want to have to go through all that with a NEW replacement.
So, I have NOT hassled Bob (yet), and taken it out to properly check.
It is actually going off to the lake District again next week, for a further test.
At the time of writing, it is ok.
At the time of writing, it is ok.
So, first the repairs.
Note that although slightly annoying, these were minor repairs to slightly iffy stitching(predominantly on the inner tie points), and not fundamental flaws
The tie points on the inner were coming loose and the stitching pulling away on 3 of the ties.
Plus the outer loop on the top of the main tent.
Plus the outer loop on the top of the main tent.
These have been repaired by hand sewing, and seam sealing.
OK, the neatness of the sewing is not good, but the seams and tie points are now held on, and withstood test 1.
OK, the neatness of the sewing is not good, but the seams and tie points are now held on, and withstood test 1.
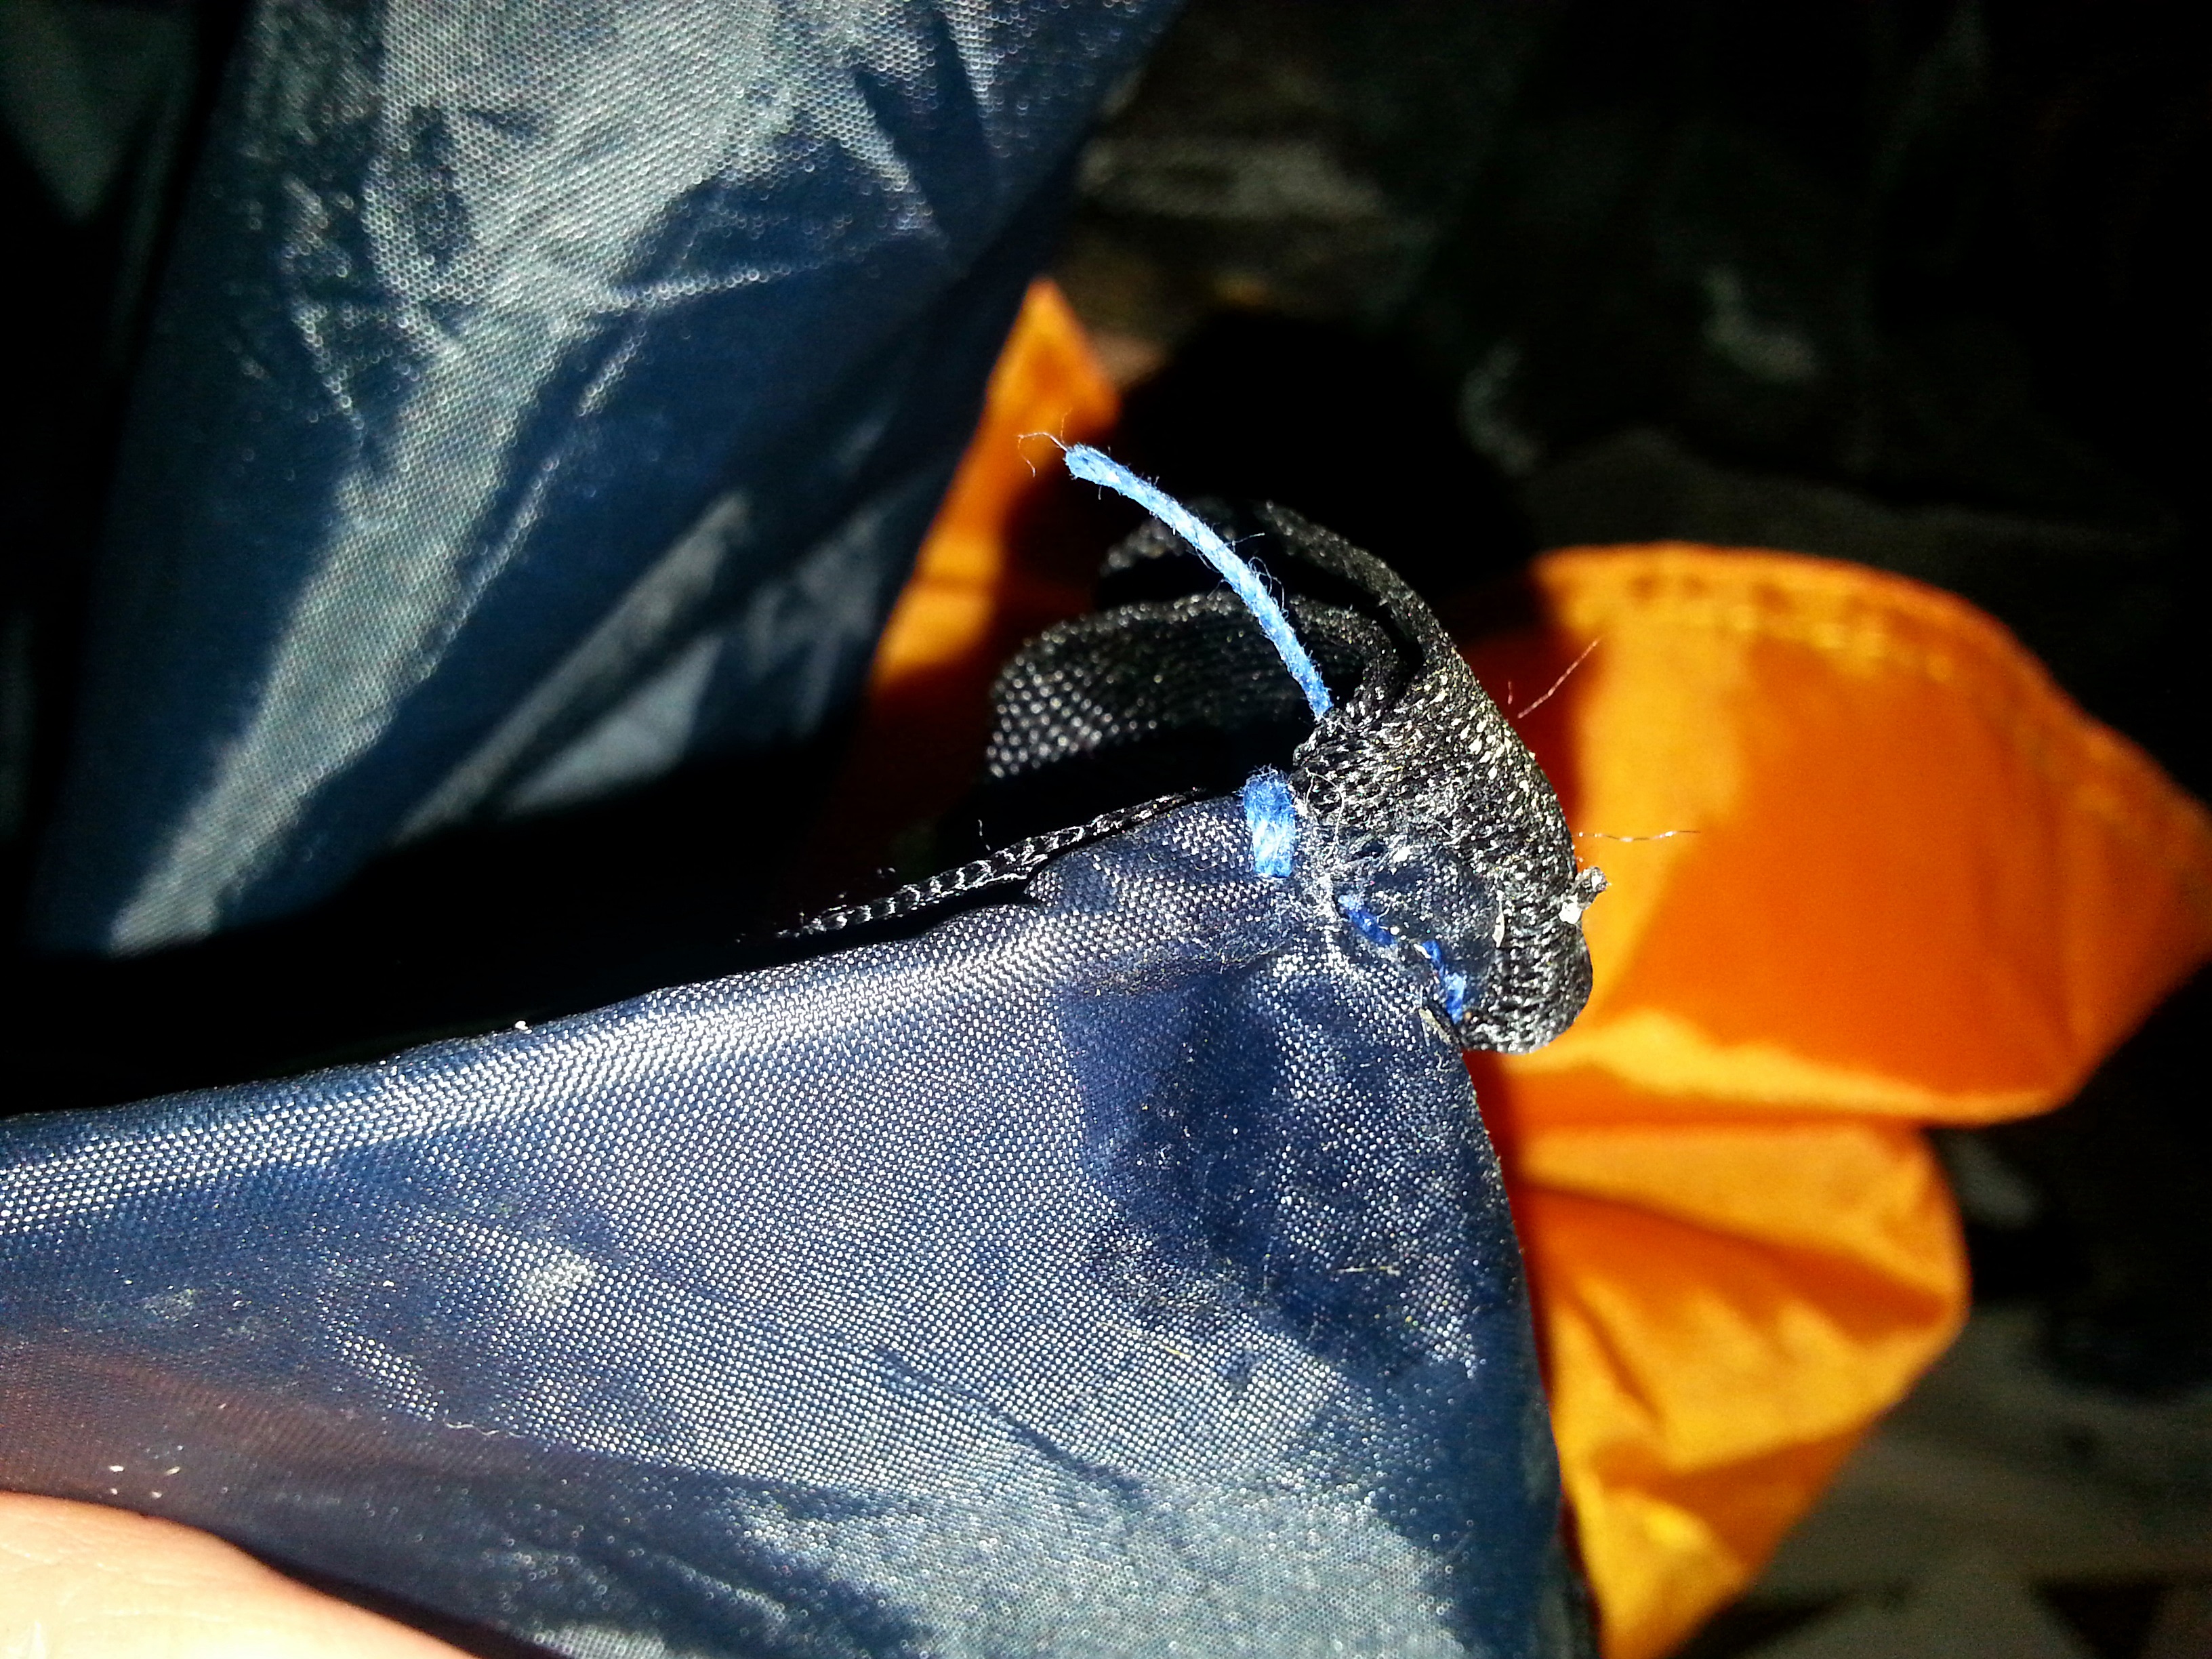
One of the original inner ties
Another repair and seal
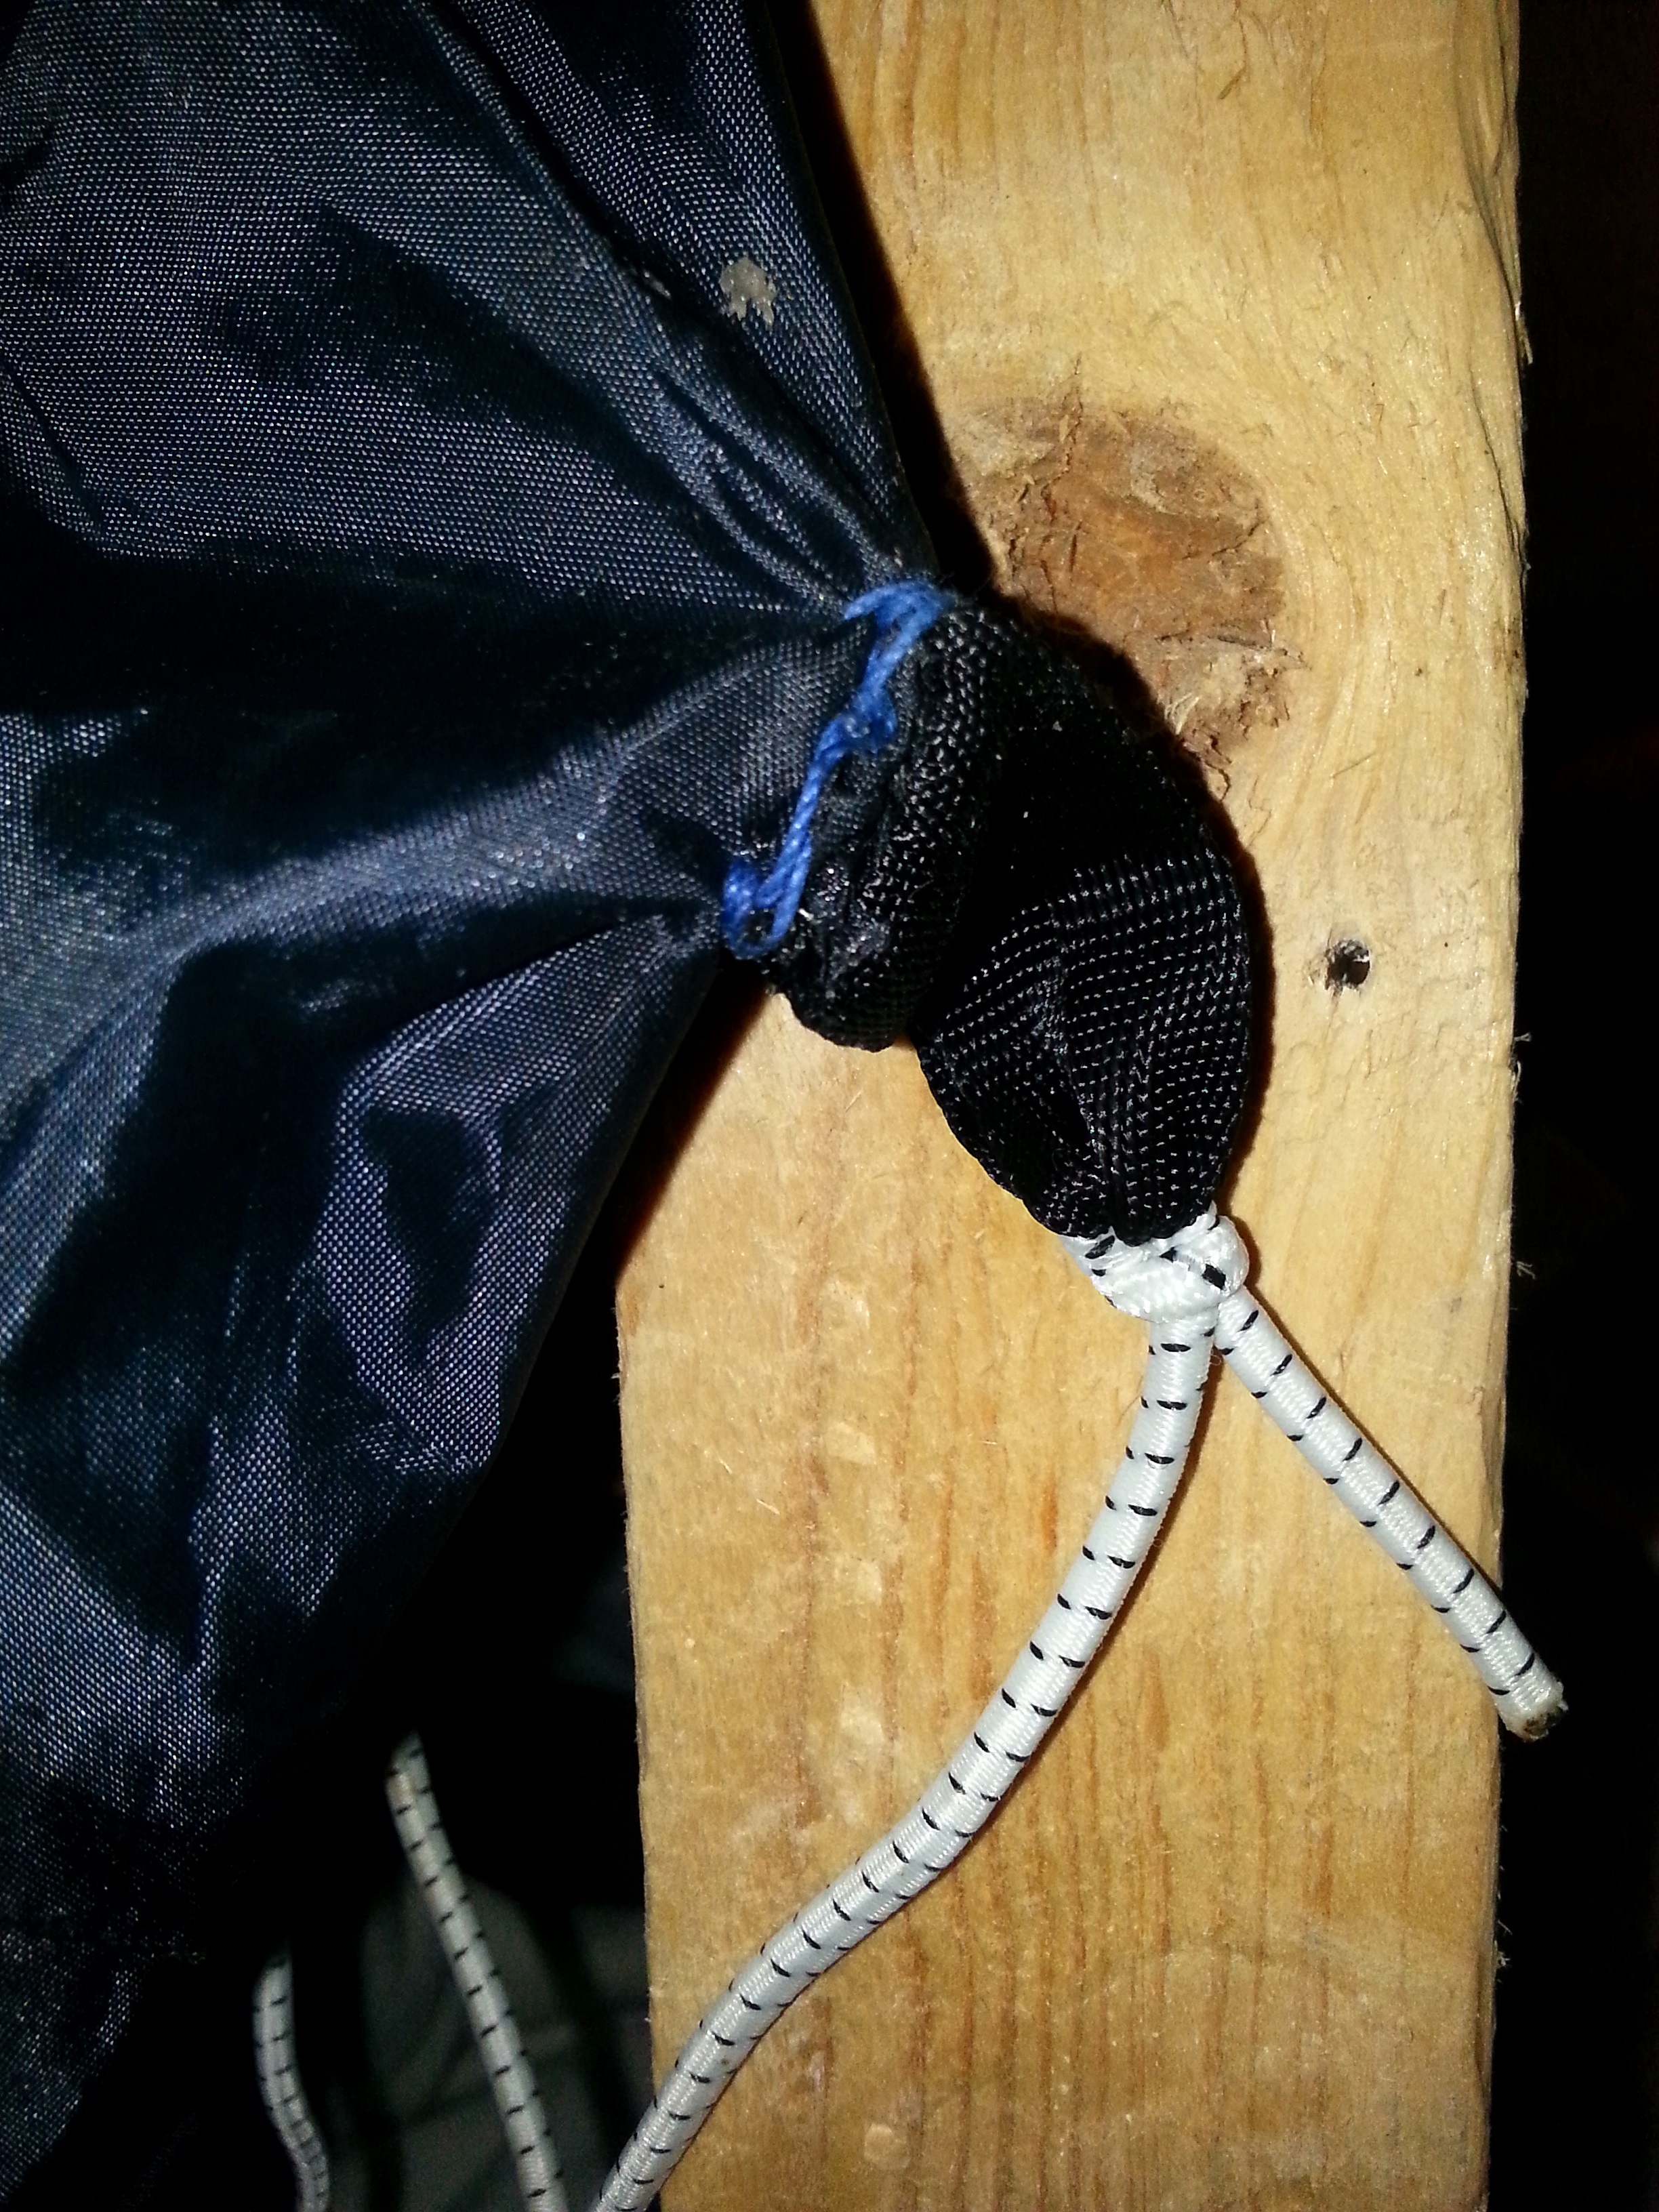
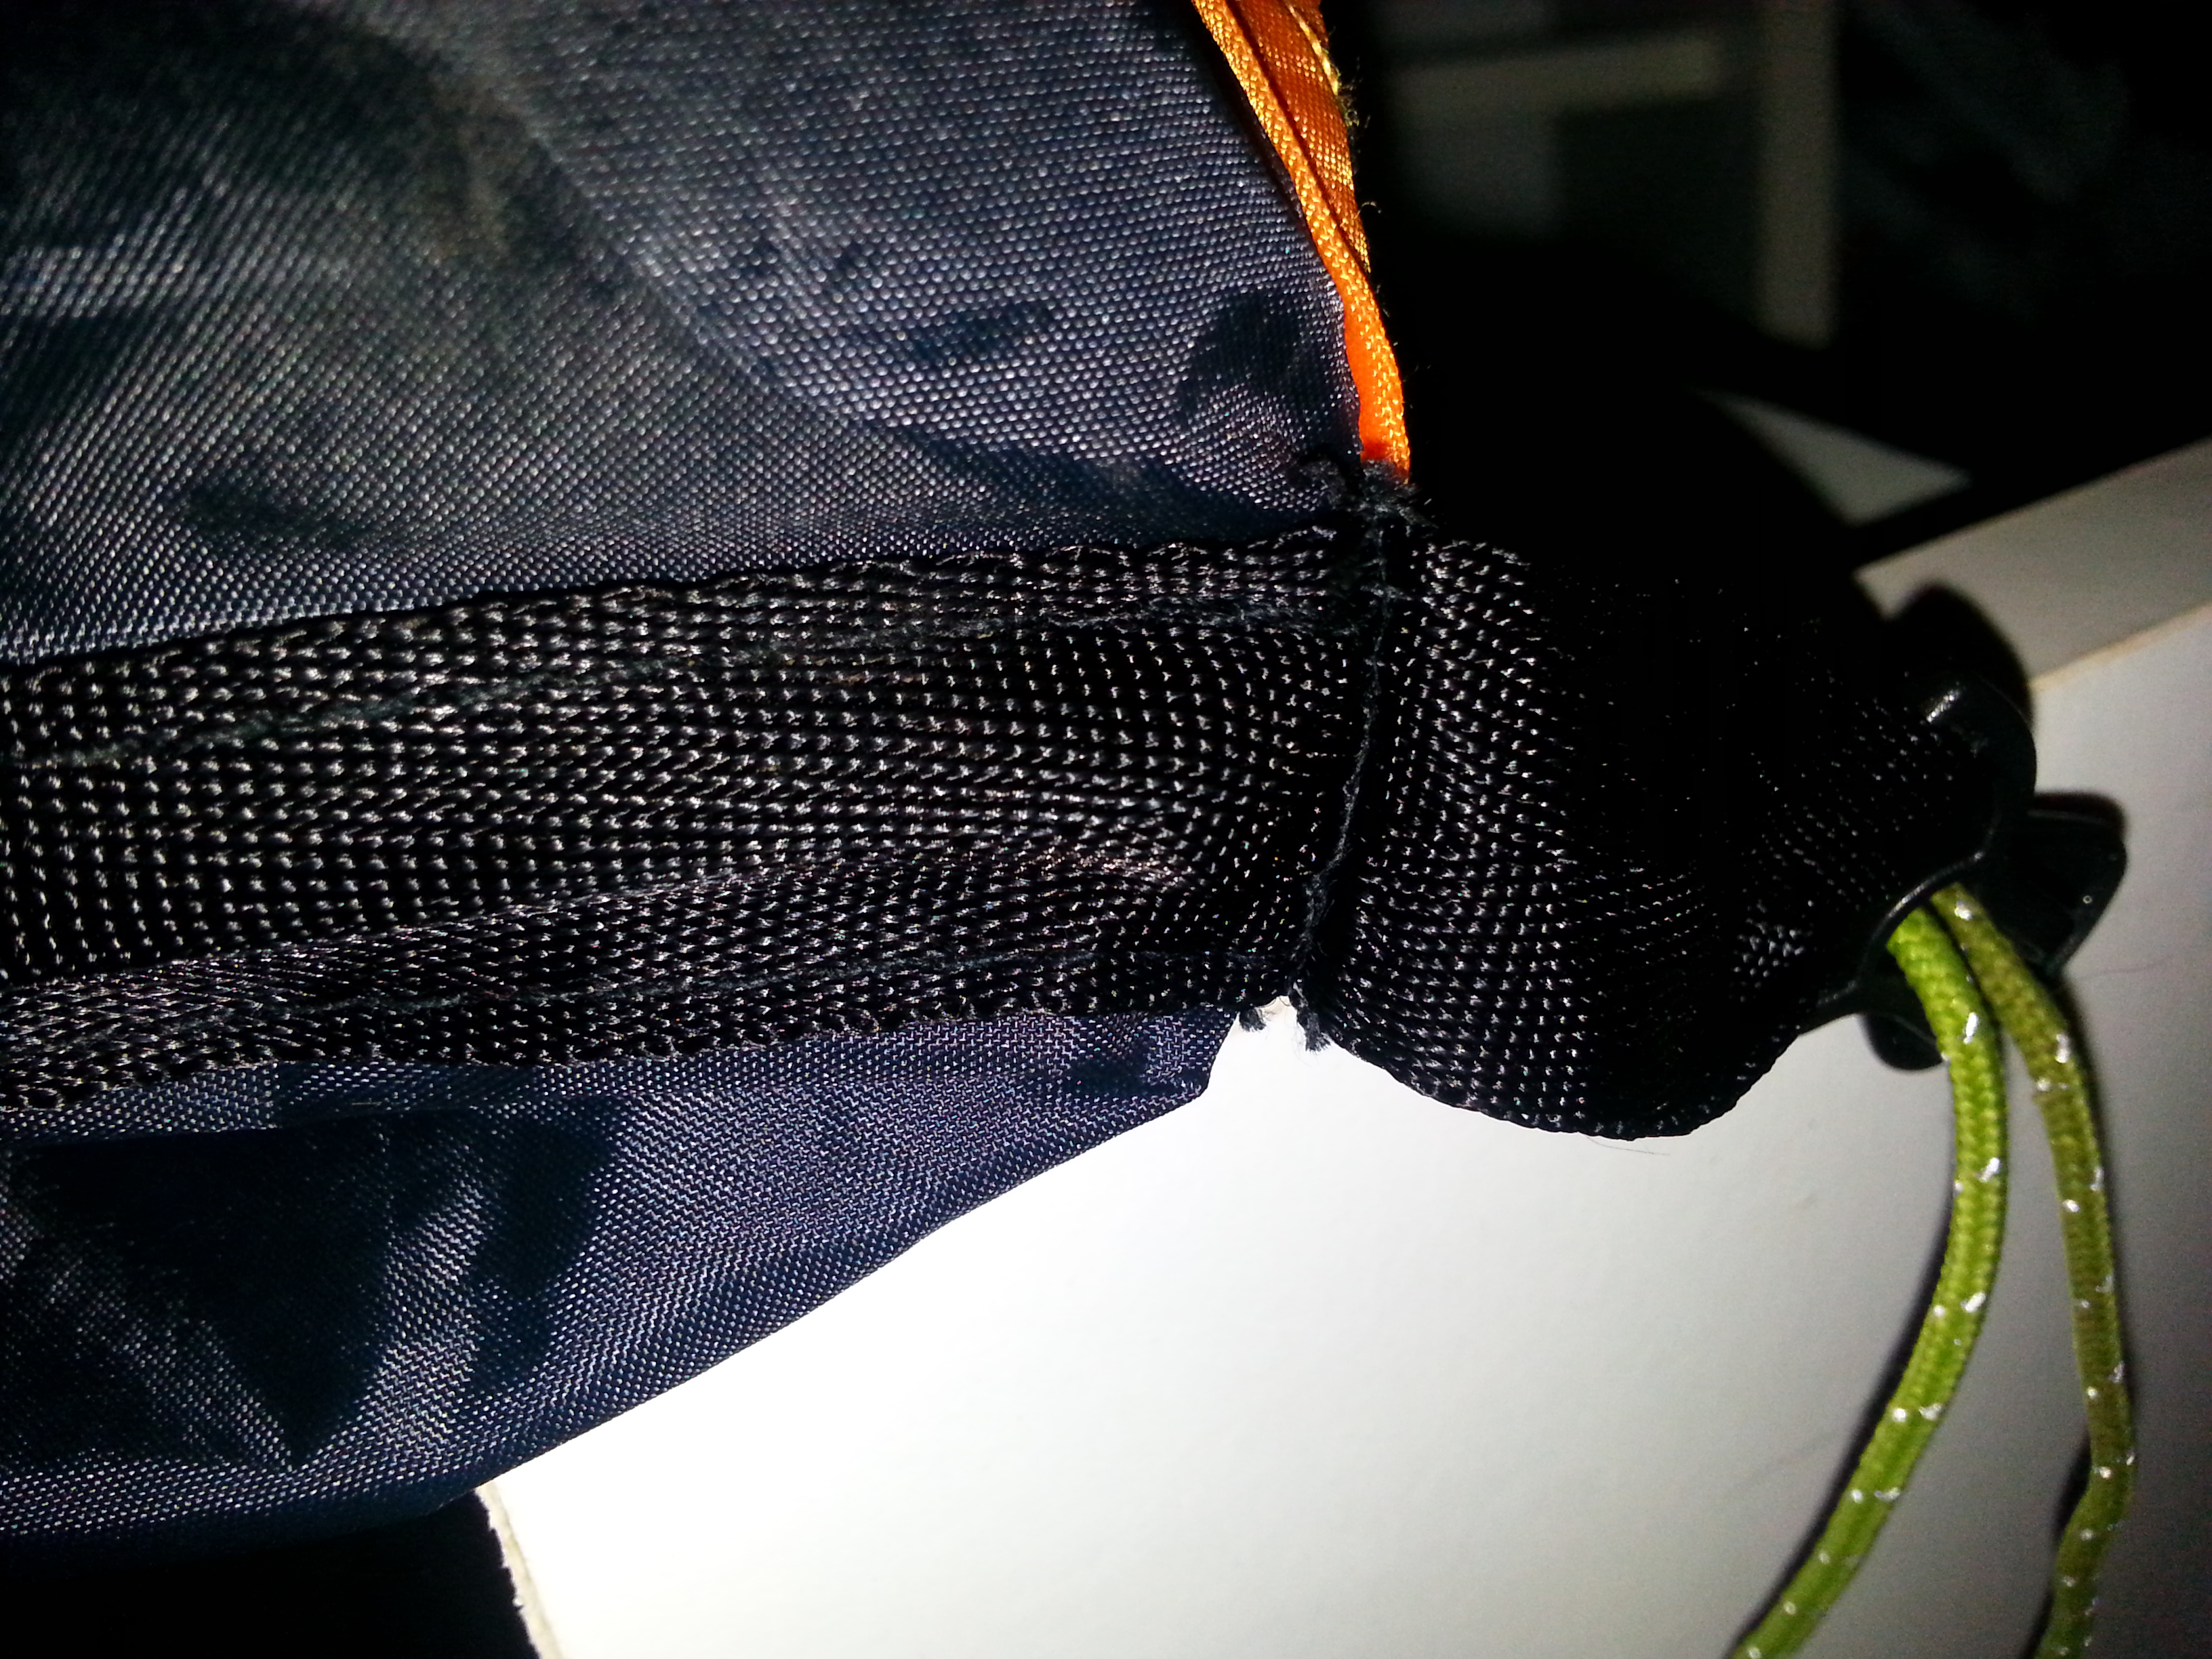
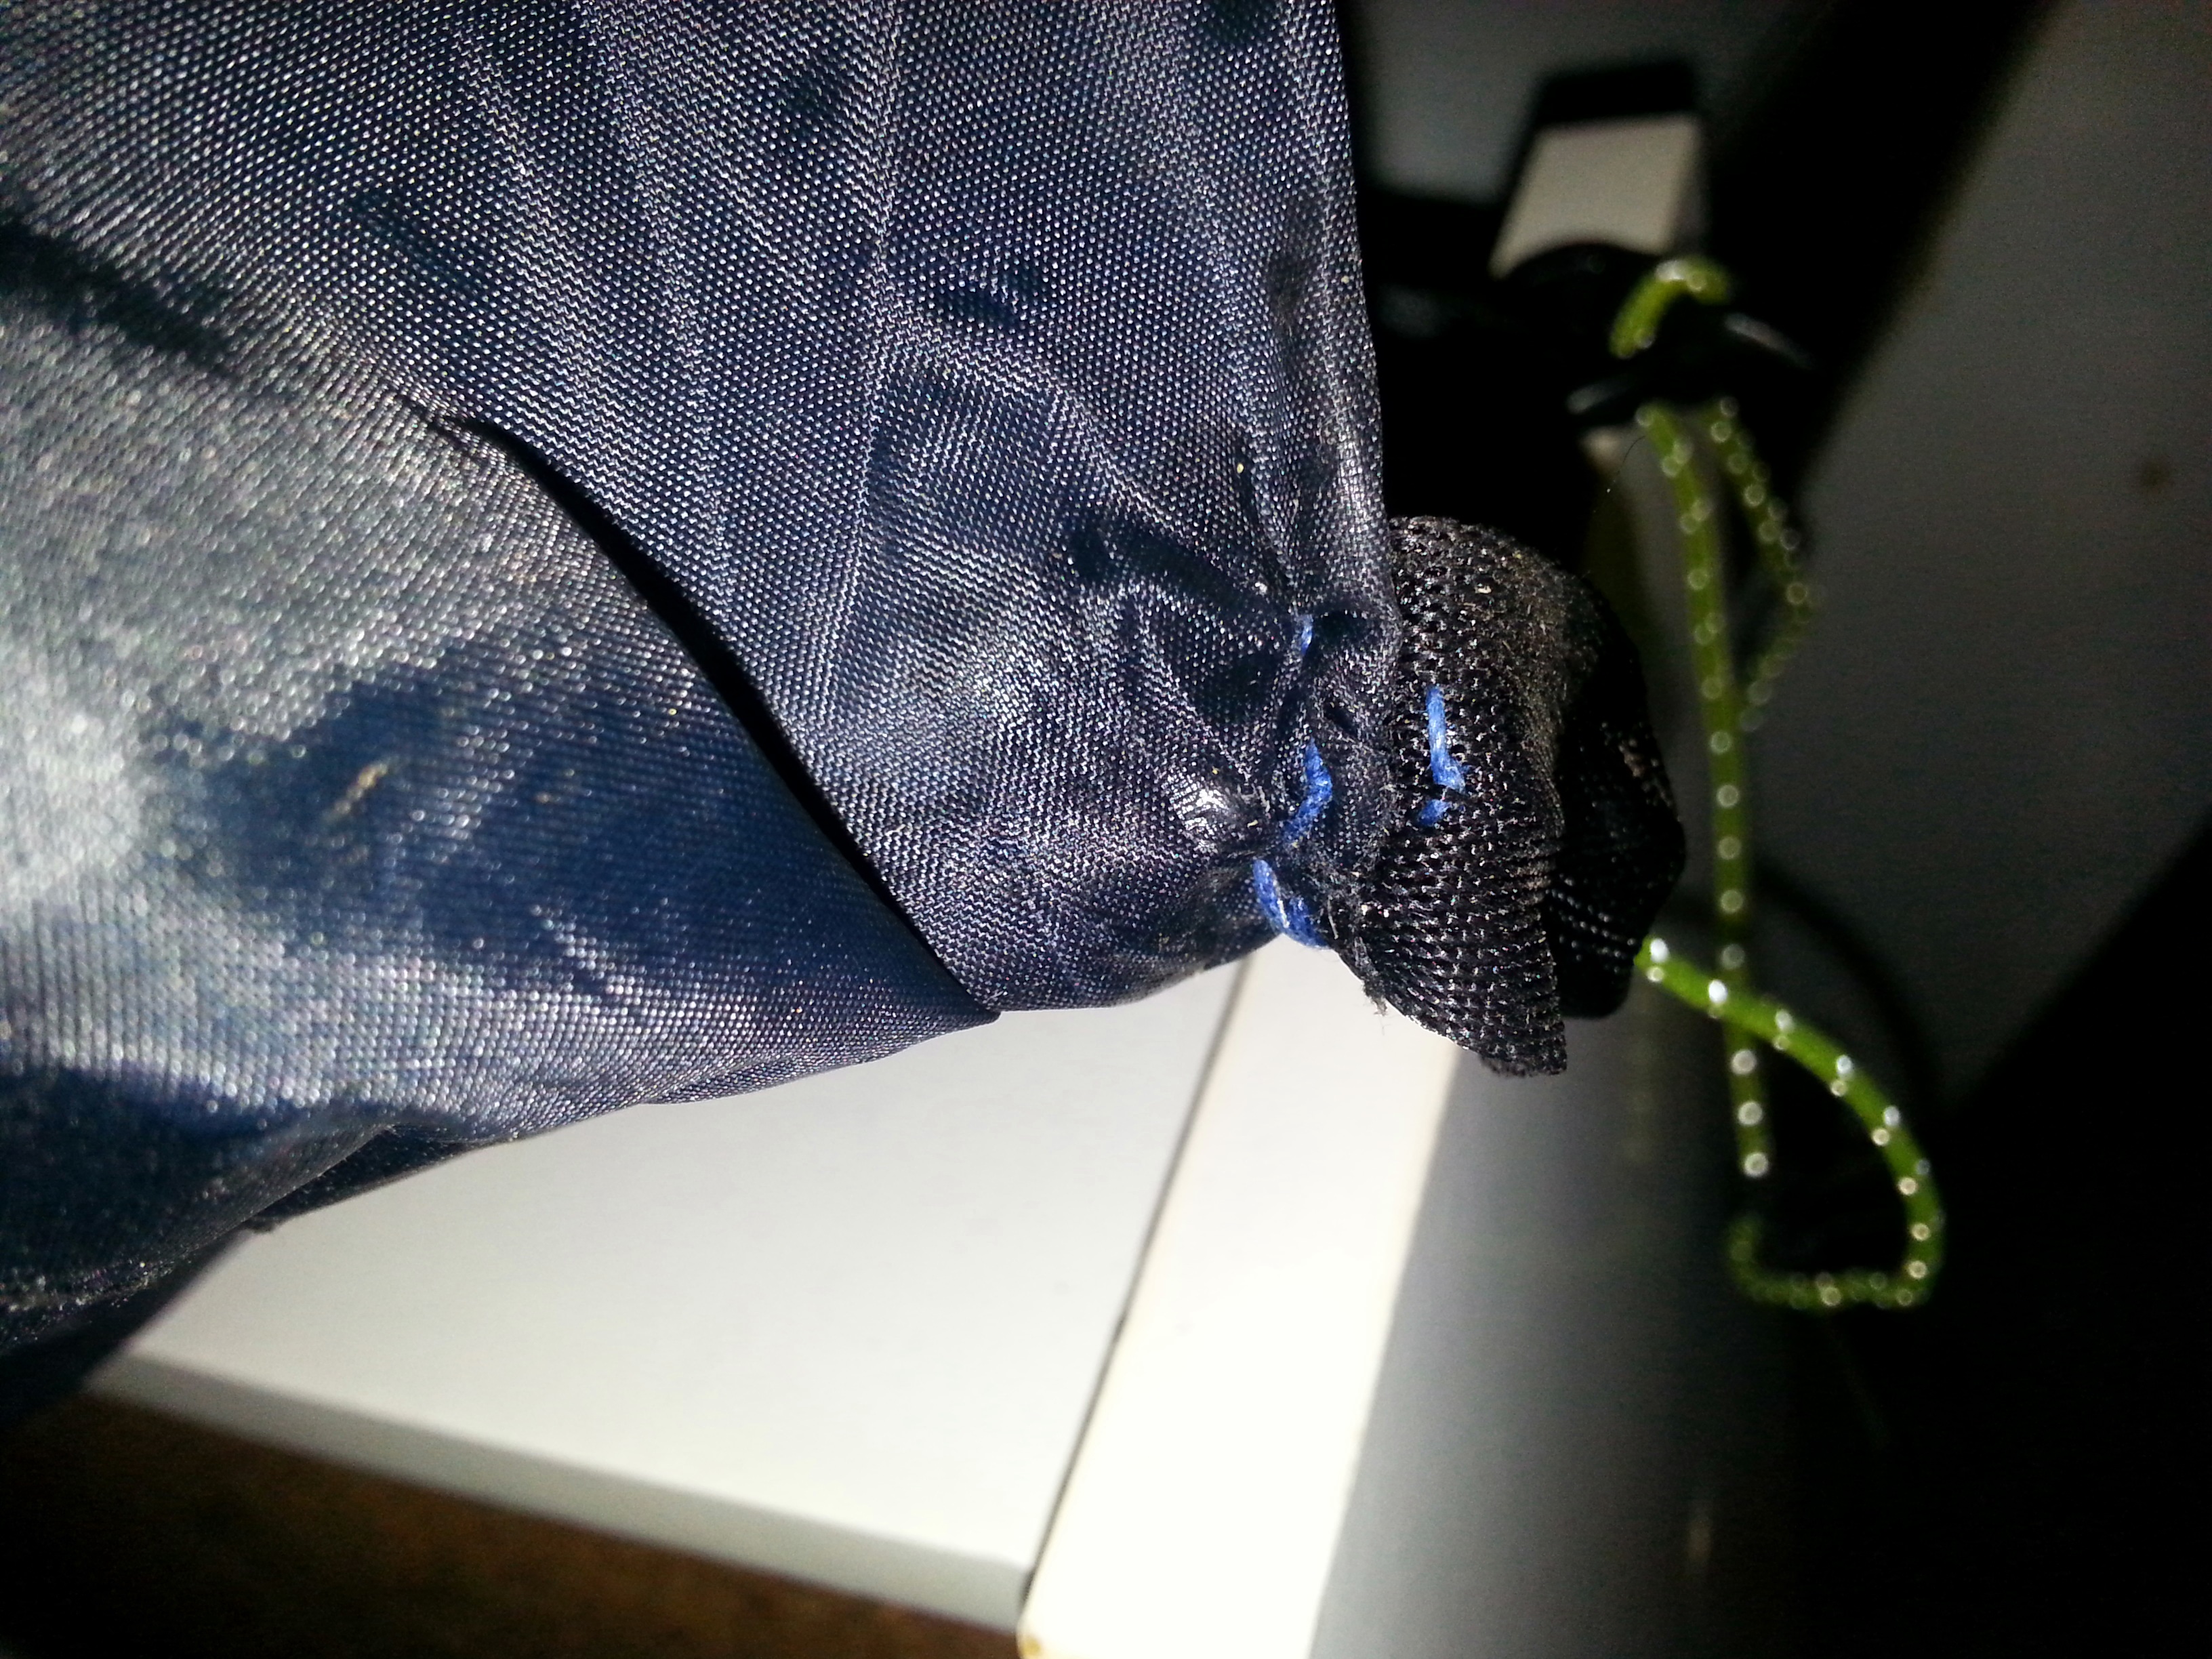
Biggest repair was on the back tie. Here I have also added 3mm shock cord to stop so much strain being put on the tie point
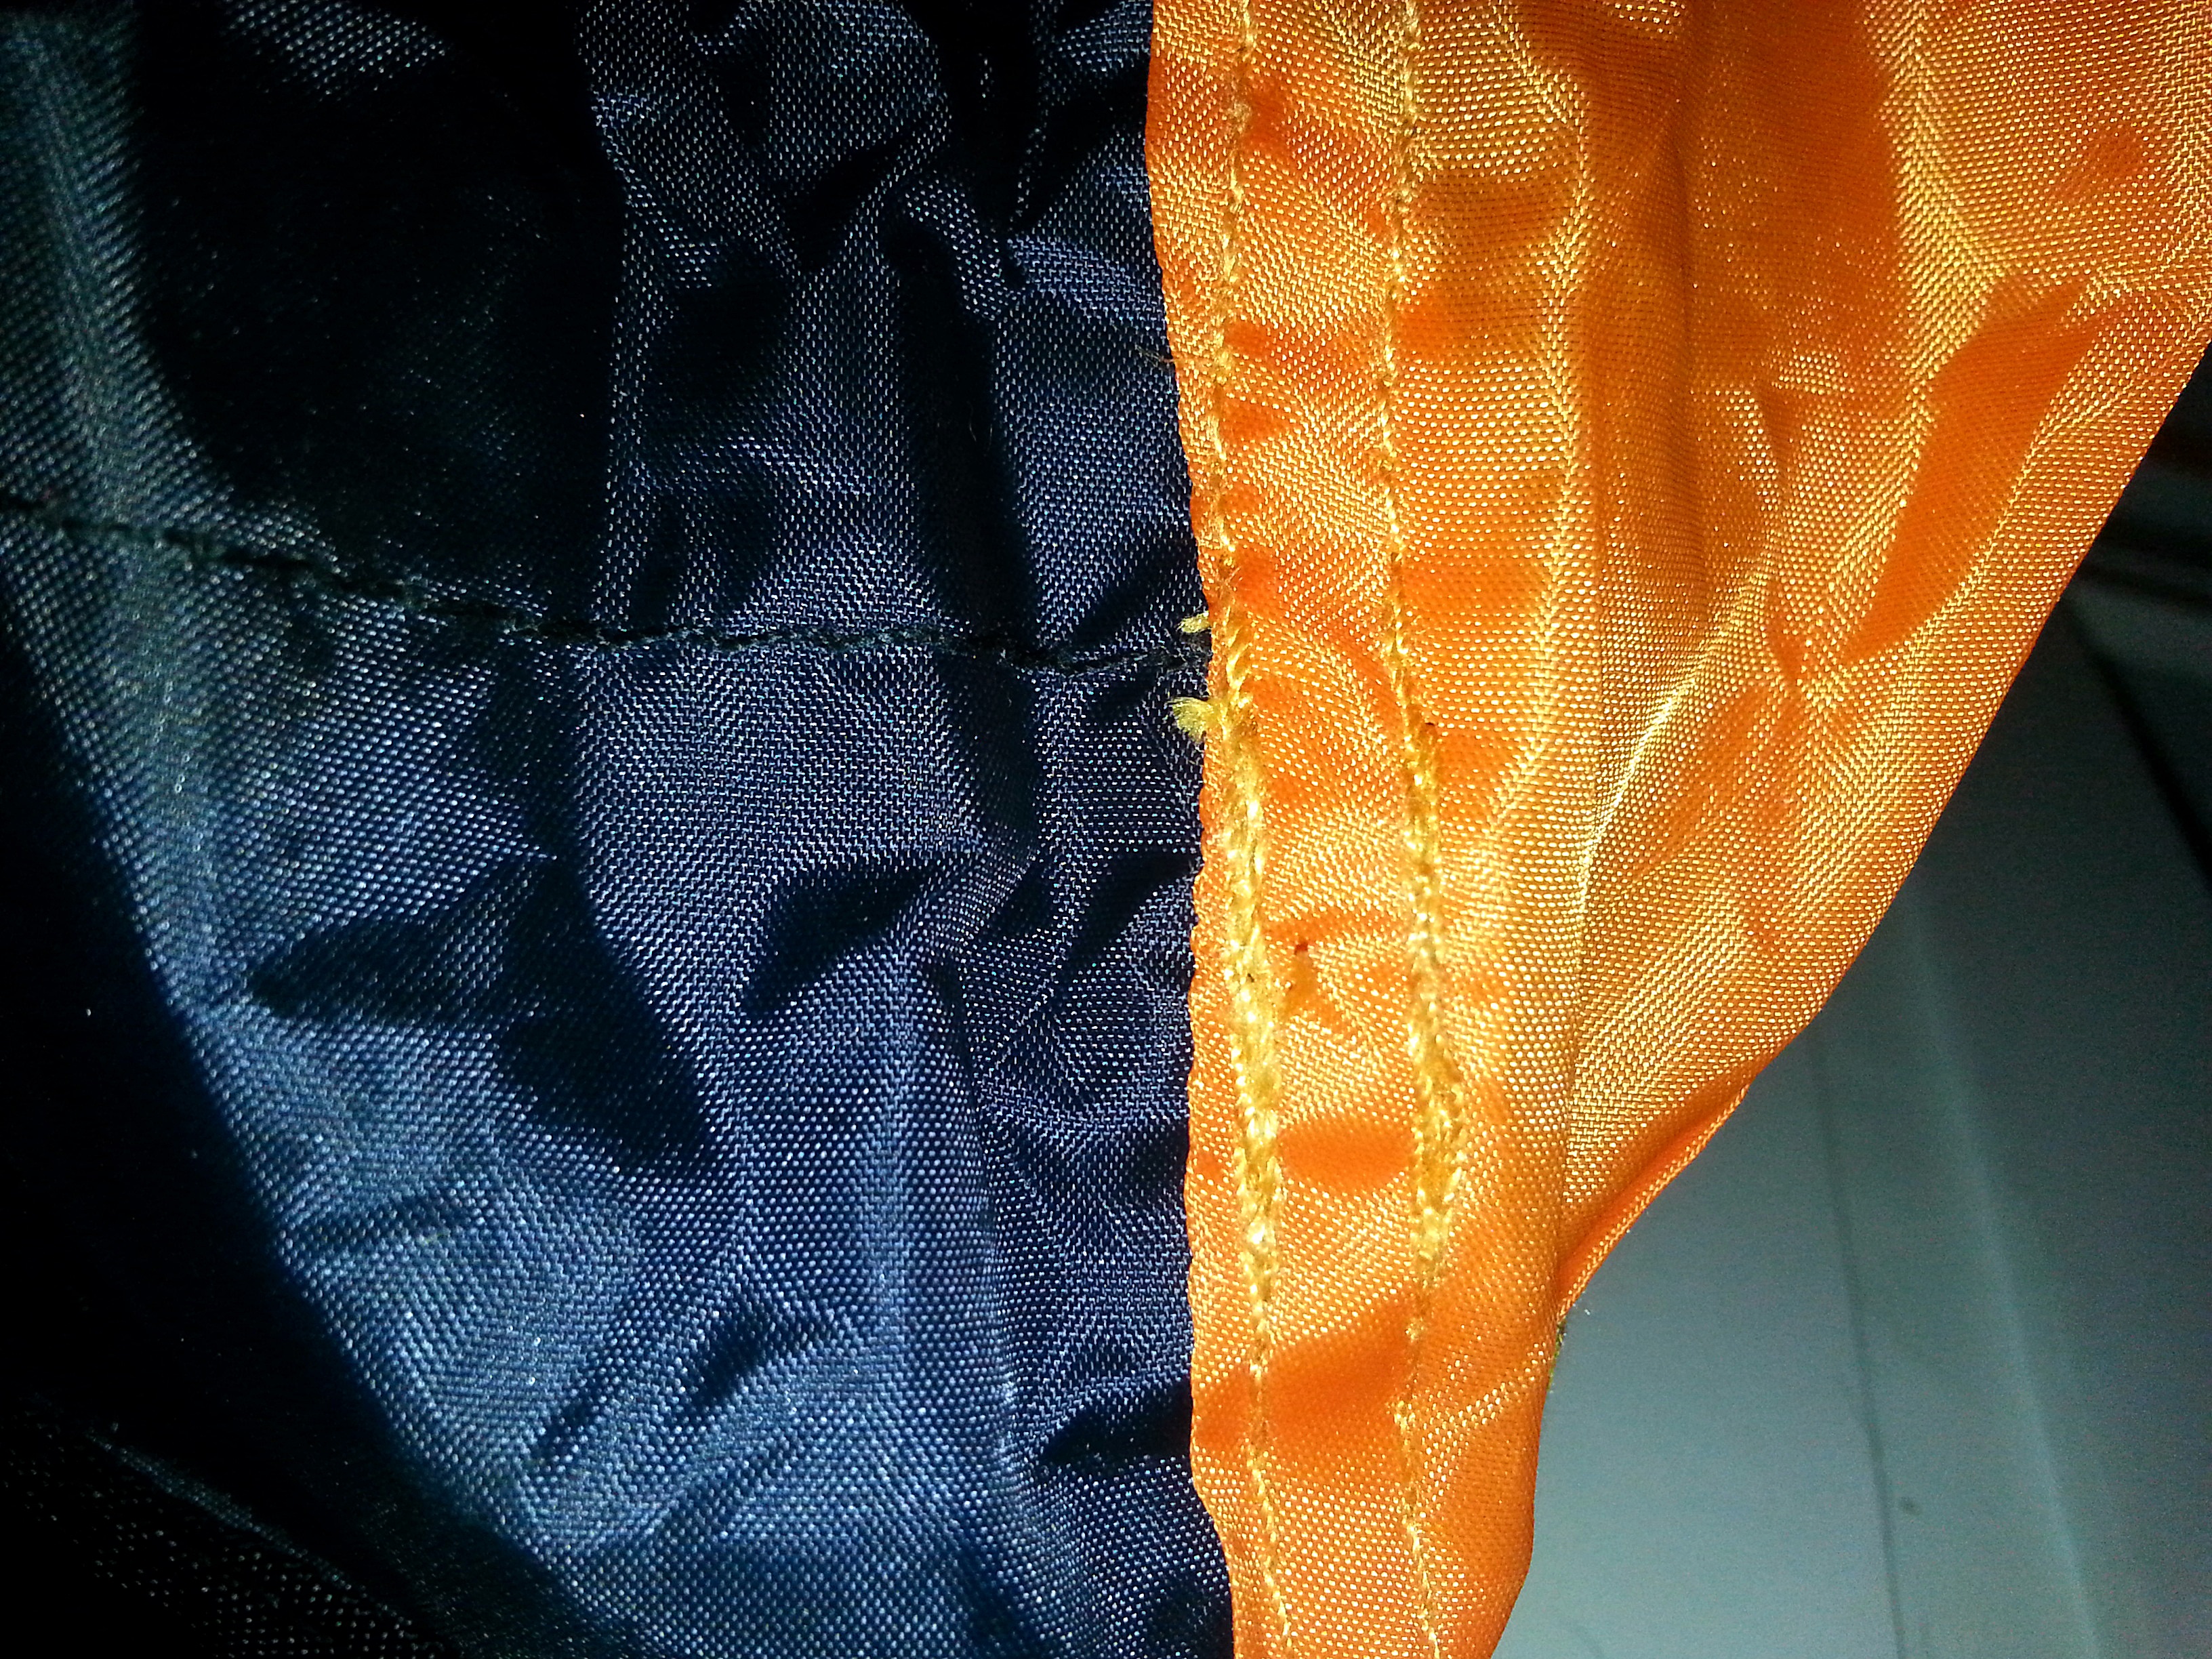
Original stitching is NOT straight, and in some cases, also NOT even. This is on both inner and in places the outer,
Tie point had come away at edge on bottom, so I have re-sewn it on, and sealed it with silicon
As well as repairs, I have also added shock cord onto all the guy line of the inner.
This means that when they are tensioned up and especially in wind, the give is in the elasticated shock chord rather than against the tie join.
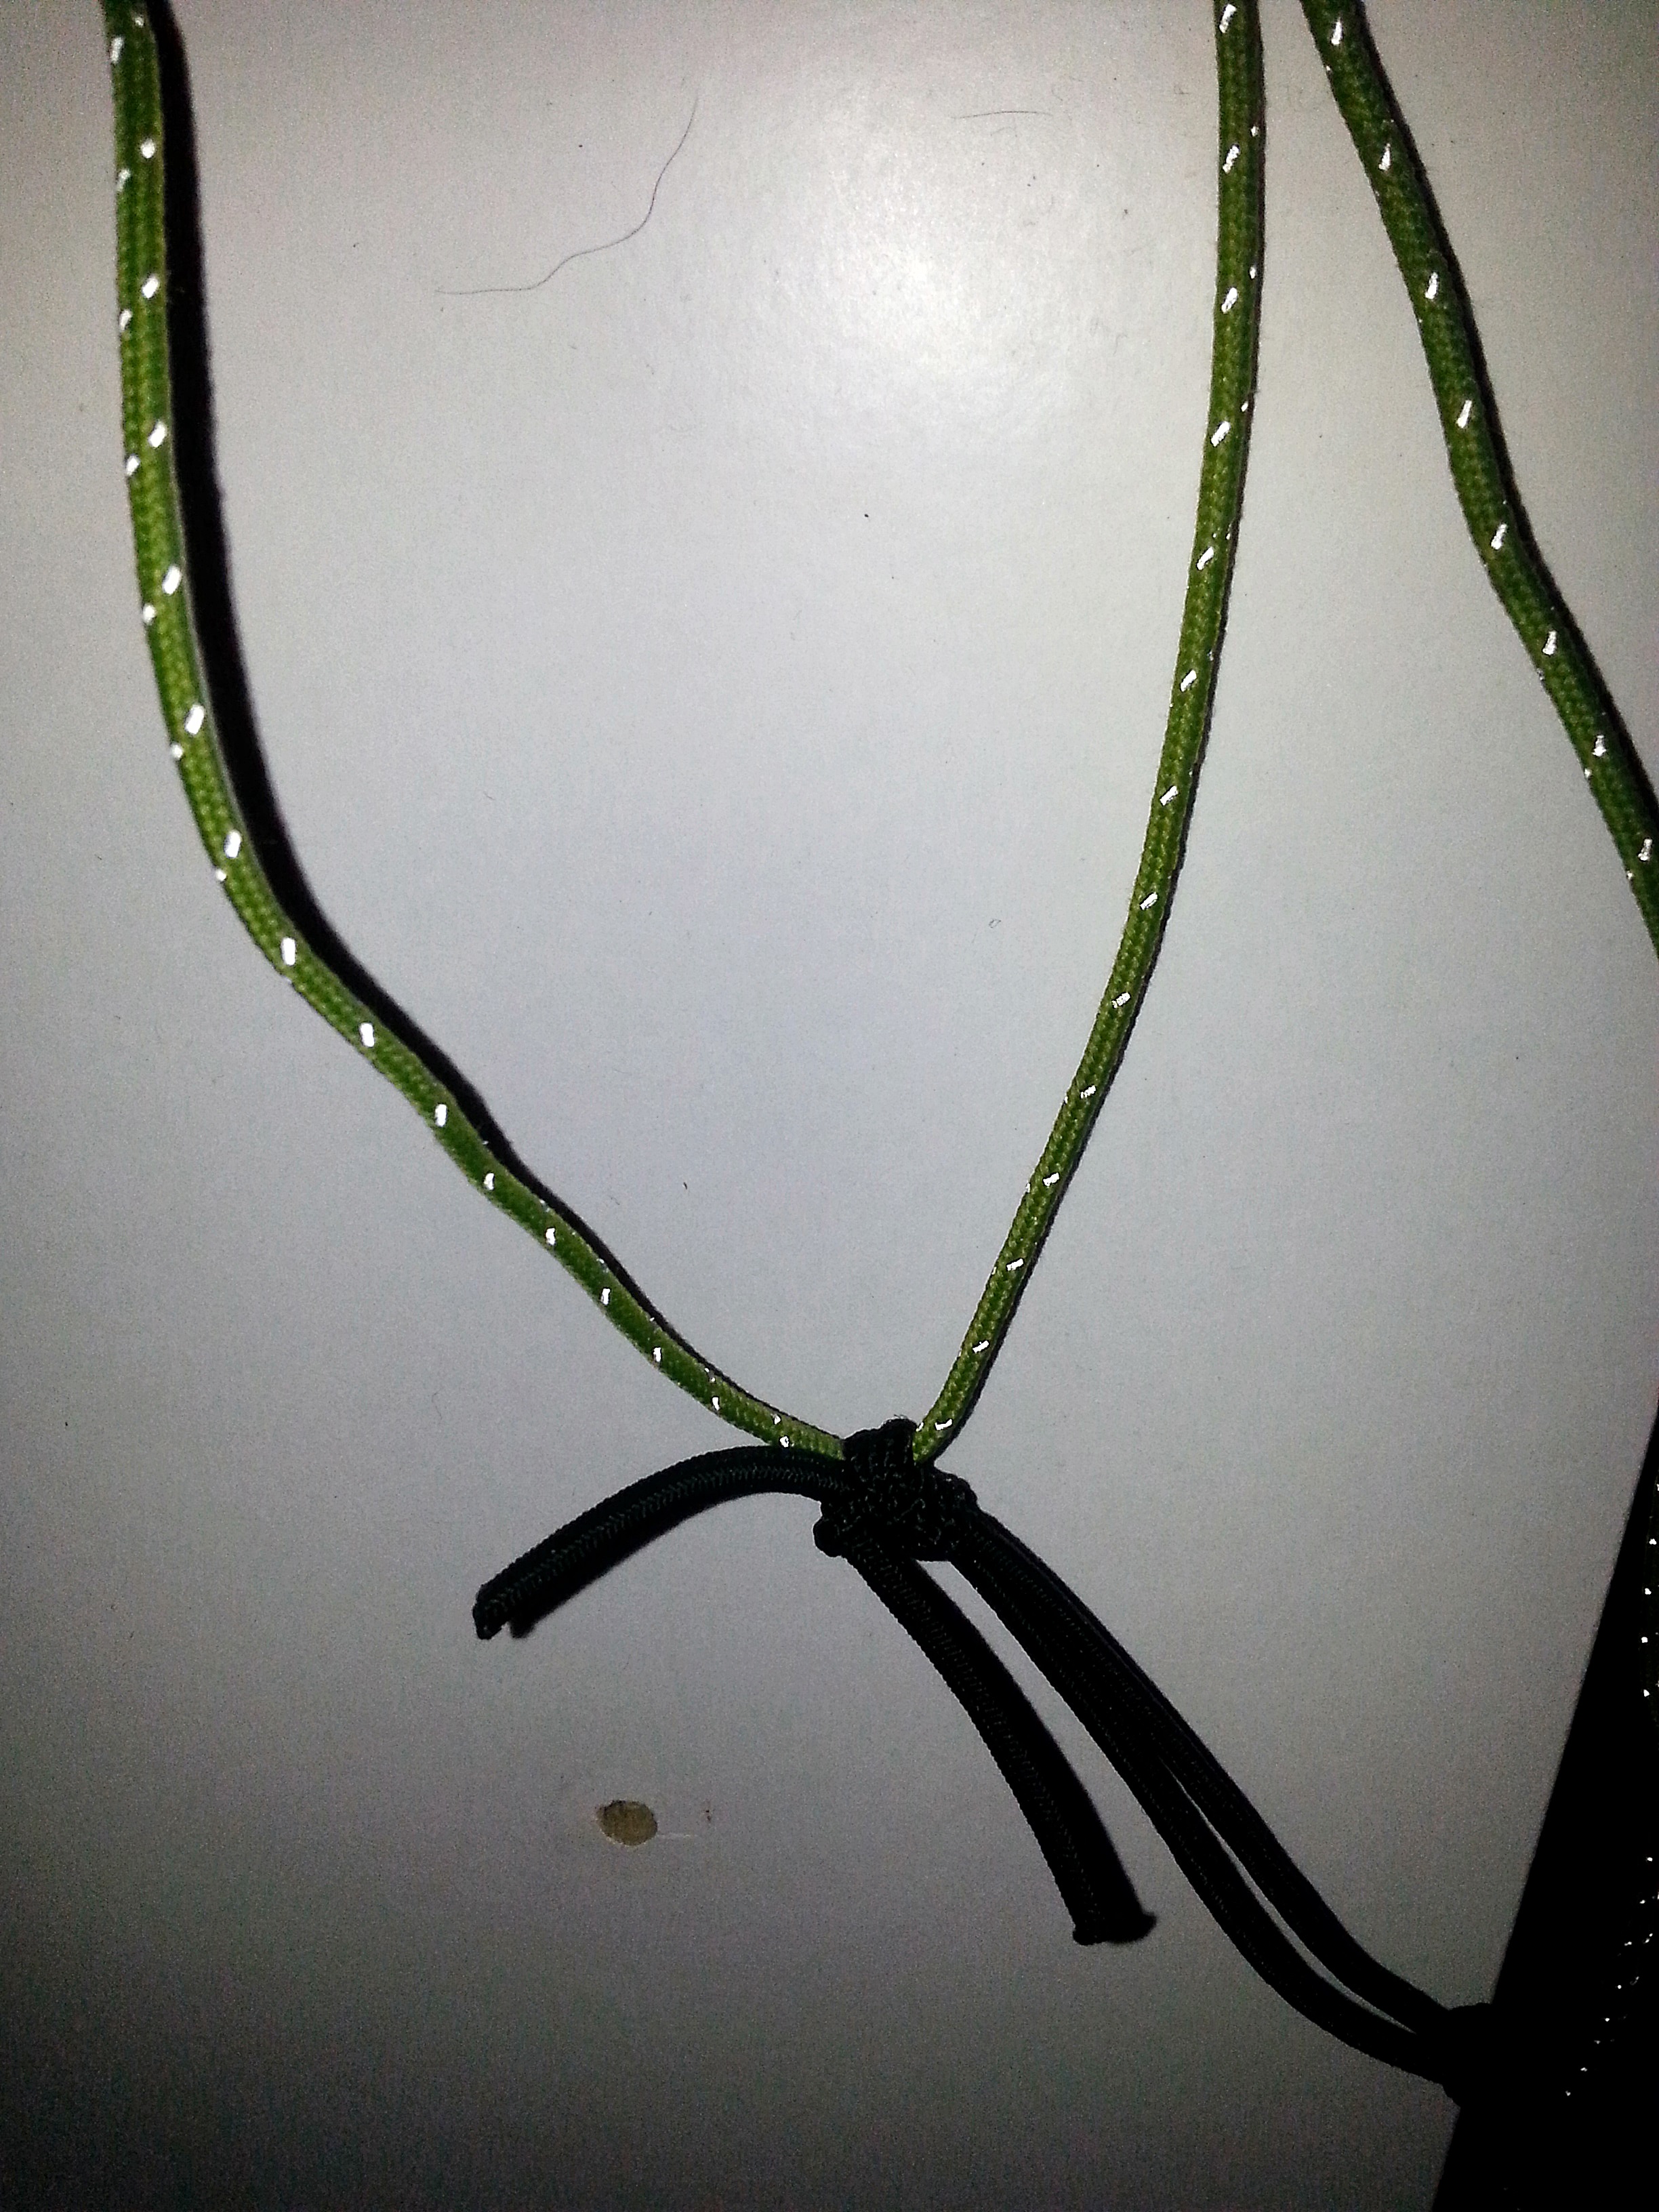
Rather than replace all the cord as I did on the main tent, I have just added an elastic loop at the end on a running knot.
This is fixed to the peg, and then the tensioner is adjusted as normal, but now the tension pulls to a triangle and this makes for a better shape and a more upright tub.
This means that when they are tensioned up and especially in wind, the give is in the elasticated shock chord rather than against the tie join.
Rather than replace all the cord as I did on the main tent, I have just added an elastic loop at the end on a running knot.
This is fixed to the peg, and then the tensioner is adjusted as normal, but now the tension pulls to a triangle and this makes for a better shape and a more upright tub.
When putting the tent up, it is important that you first secure the main 4 side points and the mid points, that forms the inner rectangle.
I have attached the black ties that come with the tent, and these help to get the width about right, before you put in the poles.
I have attached the black ties that come with the tent, and these help to get the width about right, before you put in the poles.
Then add the pole via the door.
I keep the door partly zipped.
Get the poles the correct height, and then peg the front and the back.
You will probably have to fiddle with peg positions to get it correct.
I keep the door partly zipped.
Get the poles the correct height, and then peg the front and the back.
You will probably have to fiddle with peg positions to get it correct.
I initially use a single pole at 140 (so set to 145) Remember 5 cm is in the ground!!!!
(and NOTE, most poles only go to 135 which in my opinion is NOT high enough).
(and NOTE, most poles only go to 135 which in my opinion is NOT high enough).
BUT before I tension down the outer properly, I use a second pole of the same height.
In a high wind, I think it is essential to double pole this tent.
In fact, I think it is necessary to double pole it ALWAYS.
You can either use longer than normal poles.
In a high wind, I think it is essential to double pole this tent.
In fact, I think it is necessary to double pole it ALWAYS.
You can either use longer than normal poles.
I use Black Diamond Syncline
Or get a specialist Pole from Bob.
Or get a Pole Extender from Bob either 14 or 16 (Not available for Flick Lock Poles at the moment)
However they will be coming soon.
Or get a specialist Pole from Bob.
Or get a Pole Extender from Bob either 14 or 16 (Not available for Flick Lock Poles at the moment)
However they will be coming soon.
Once the Outer is up correctly, you can easily put in the inner.
Best method (I have found) is to do the following sequence.
- Attach the front most inner guys
- Use a small peg on the front outers where the hoops are, and also in the middle.
This is personal choice bot works for me. - Now attach the back mid point and then the back outers
- If you can tension them up form inside
- Attach the inner to the top hook
Can be fiddly with 2 poles so I added a bit extra coloured cord to the hook to be able to pull it down. - Fine tune the tension on the inner, and check the tension on the outer
And with that done, I have found the tent a super little Pyramid shelter
Strong and stable in wind.
Waterproof
Next to NO condensation.
Good amount of room for me, and a BIG porch area.
I take a small groundsheet for that.
Strong and stable in wind.
Waterproof
Next to NO condensation.
Good amount of room for me, and a BIG porch area.
I take a small groundsheet for that.
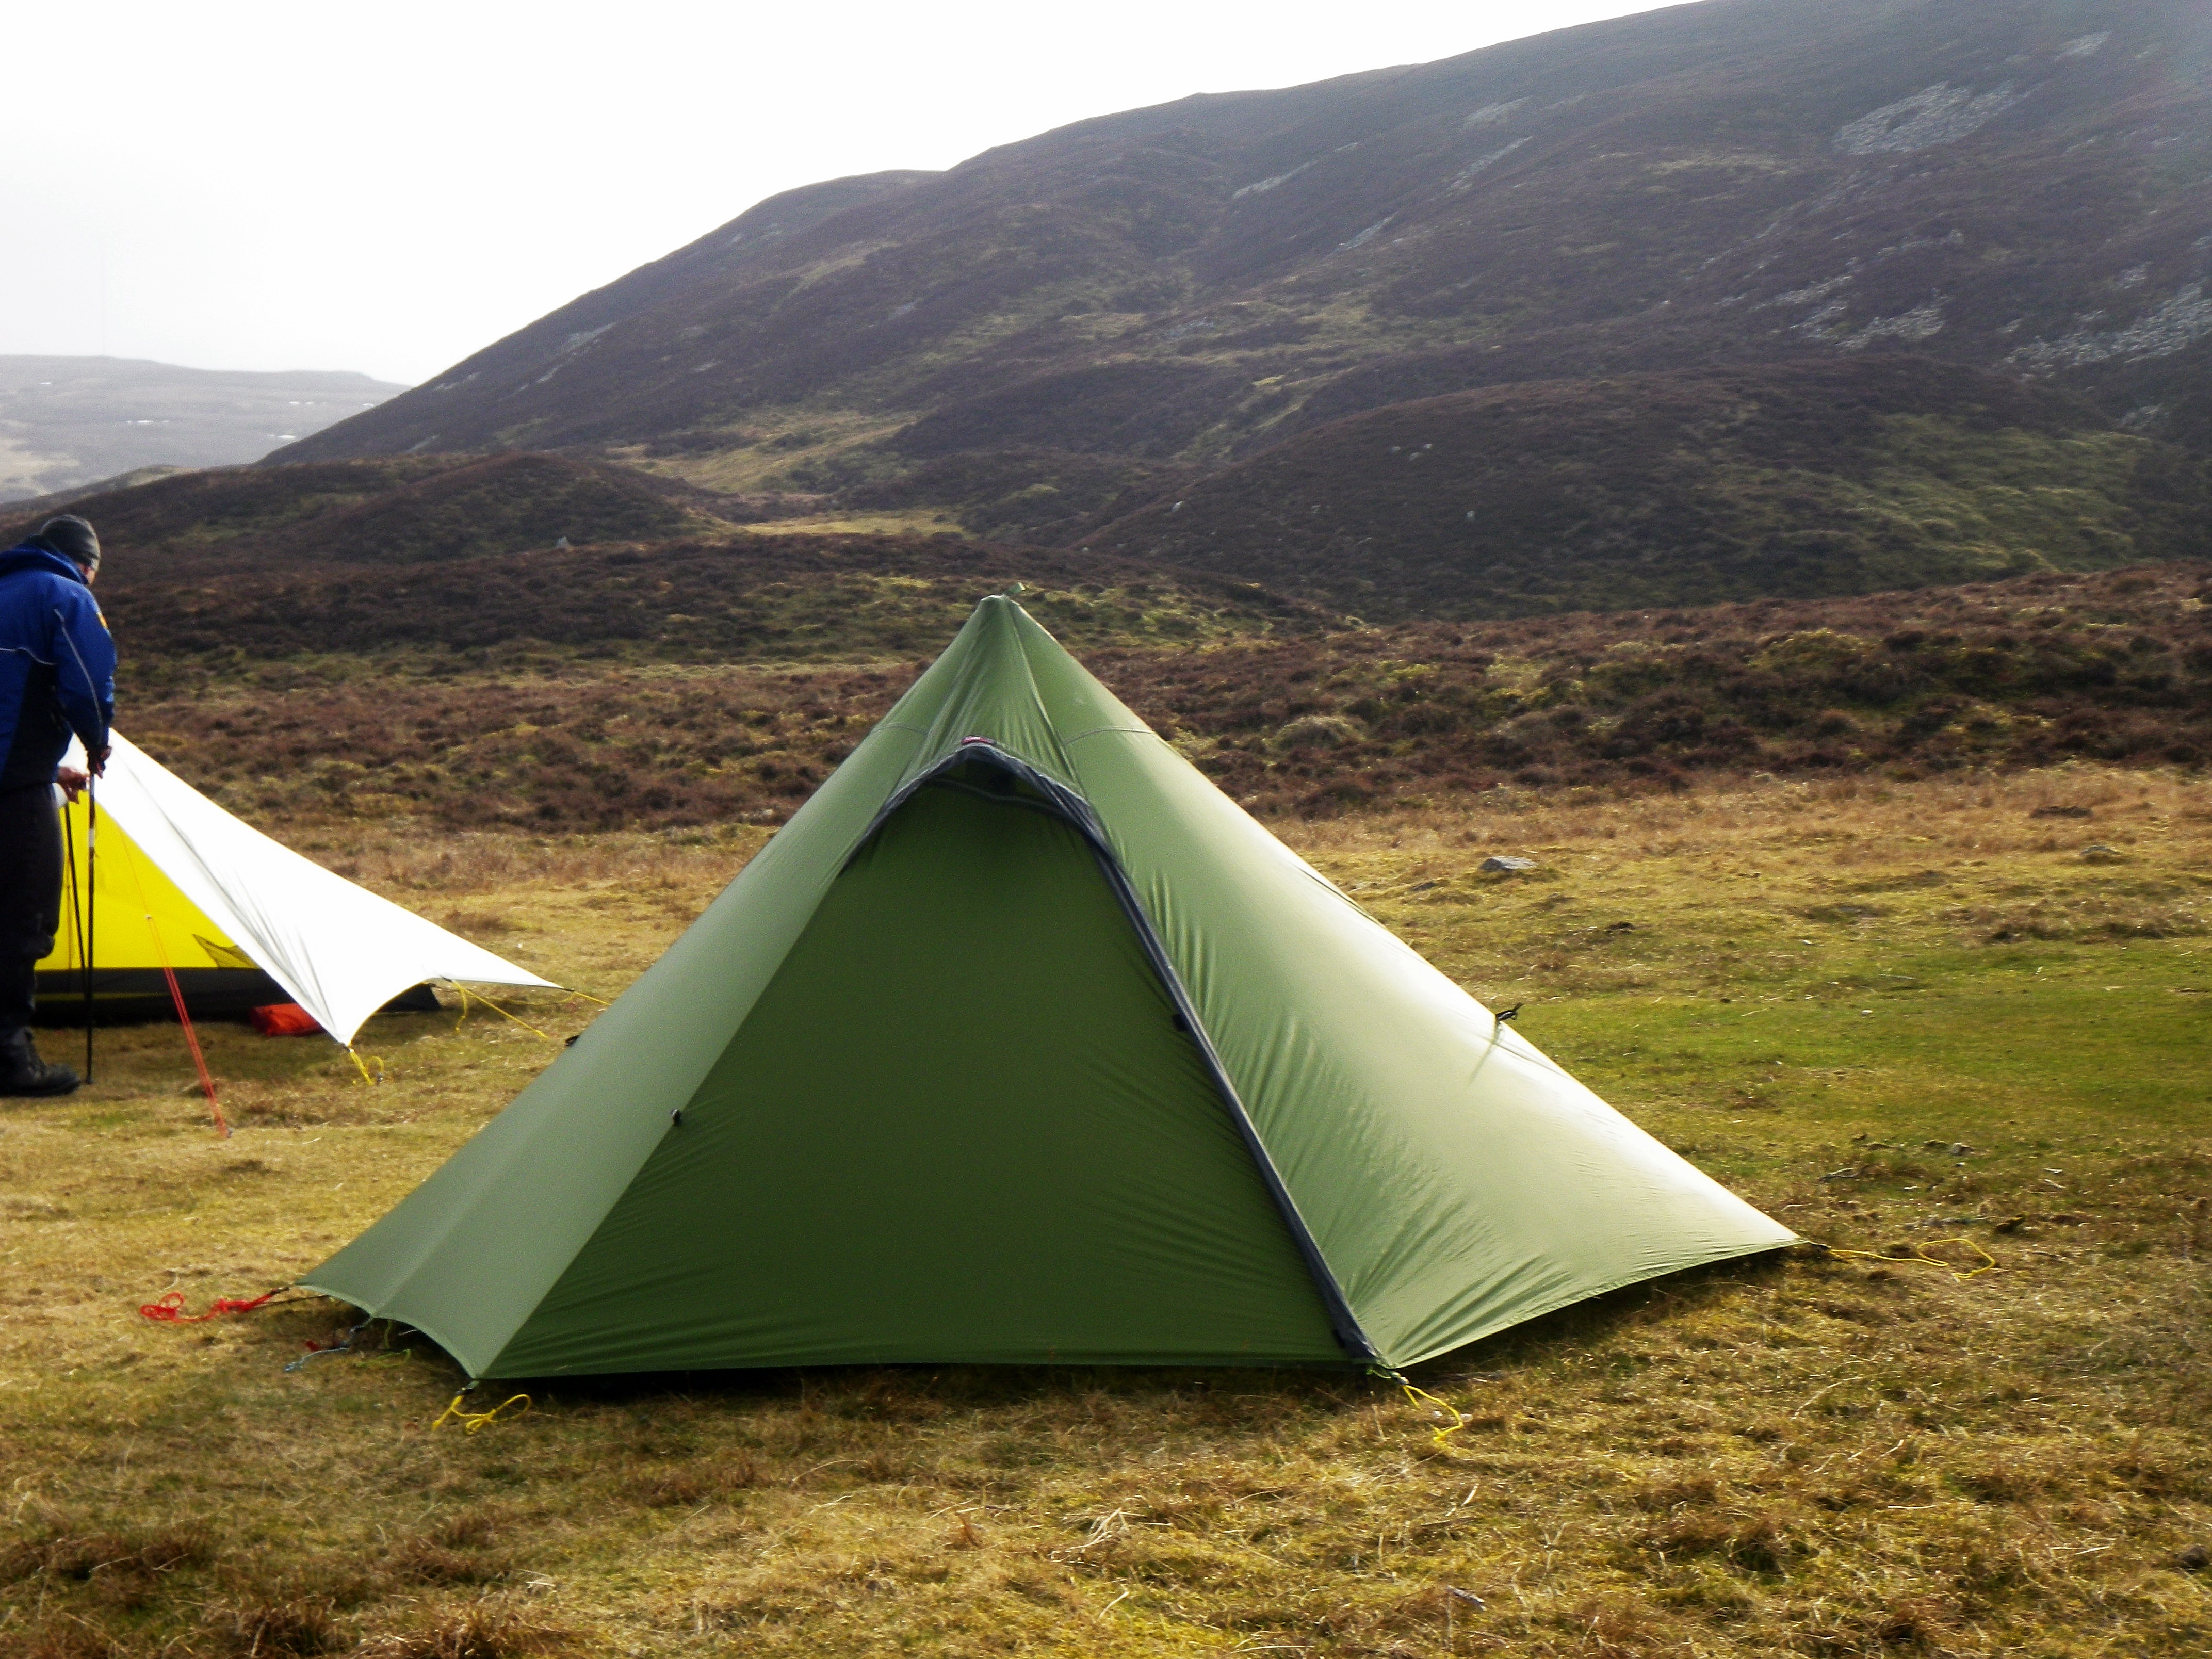
Pitched along Dulnain in Monadhliath. A small amount of ripples in sides before final tensioning, but she was strong in wind and rain later that night. Didn’t budge at all.
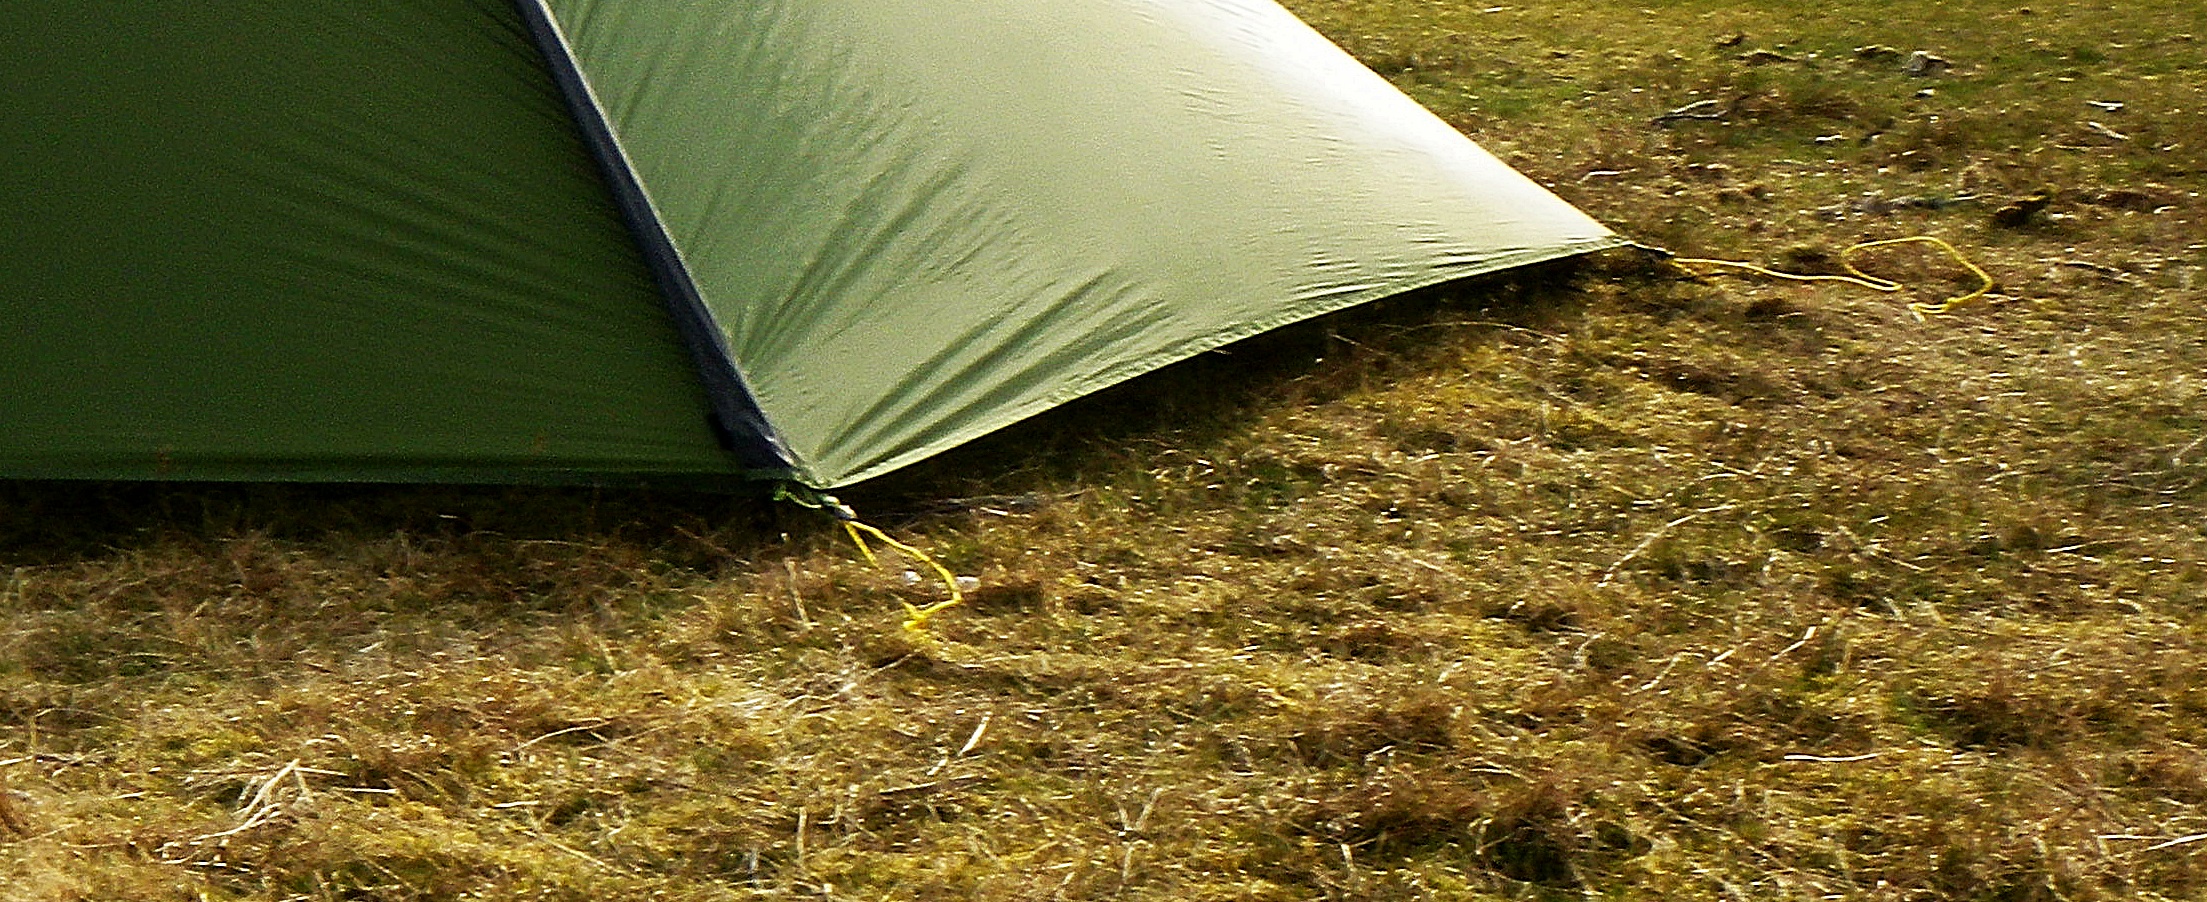
Main guy line ropes changed to 3mm. I have colored them as well. Back Blue, Back sides RED, Mid points light blue, Front 3 Yellow. Makes it much easier to work out which are which in higher winds
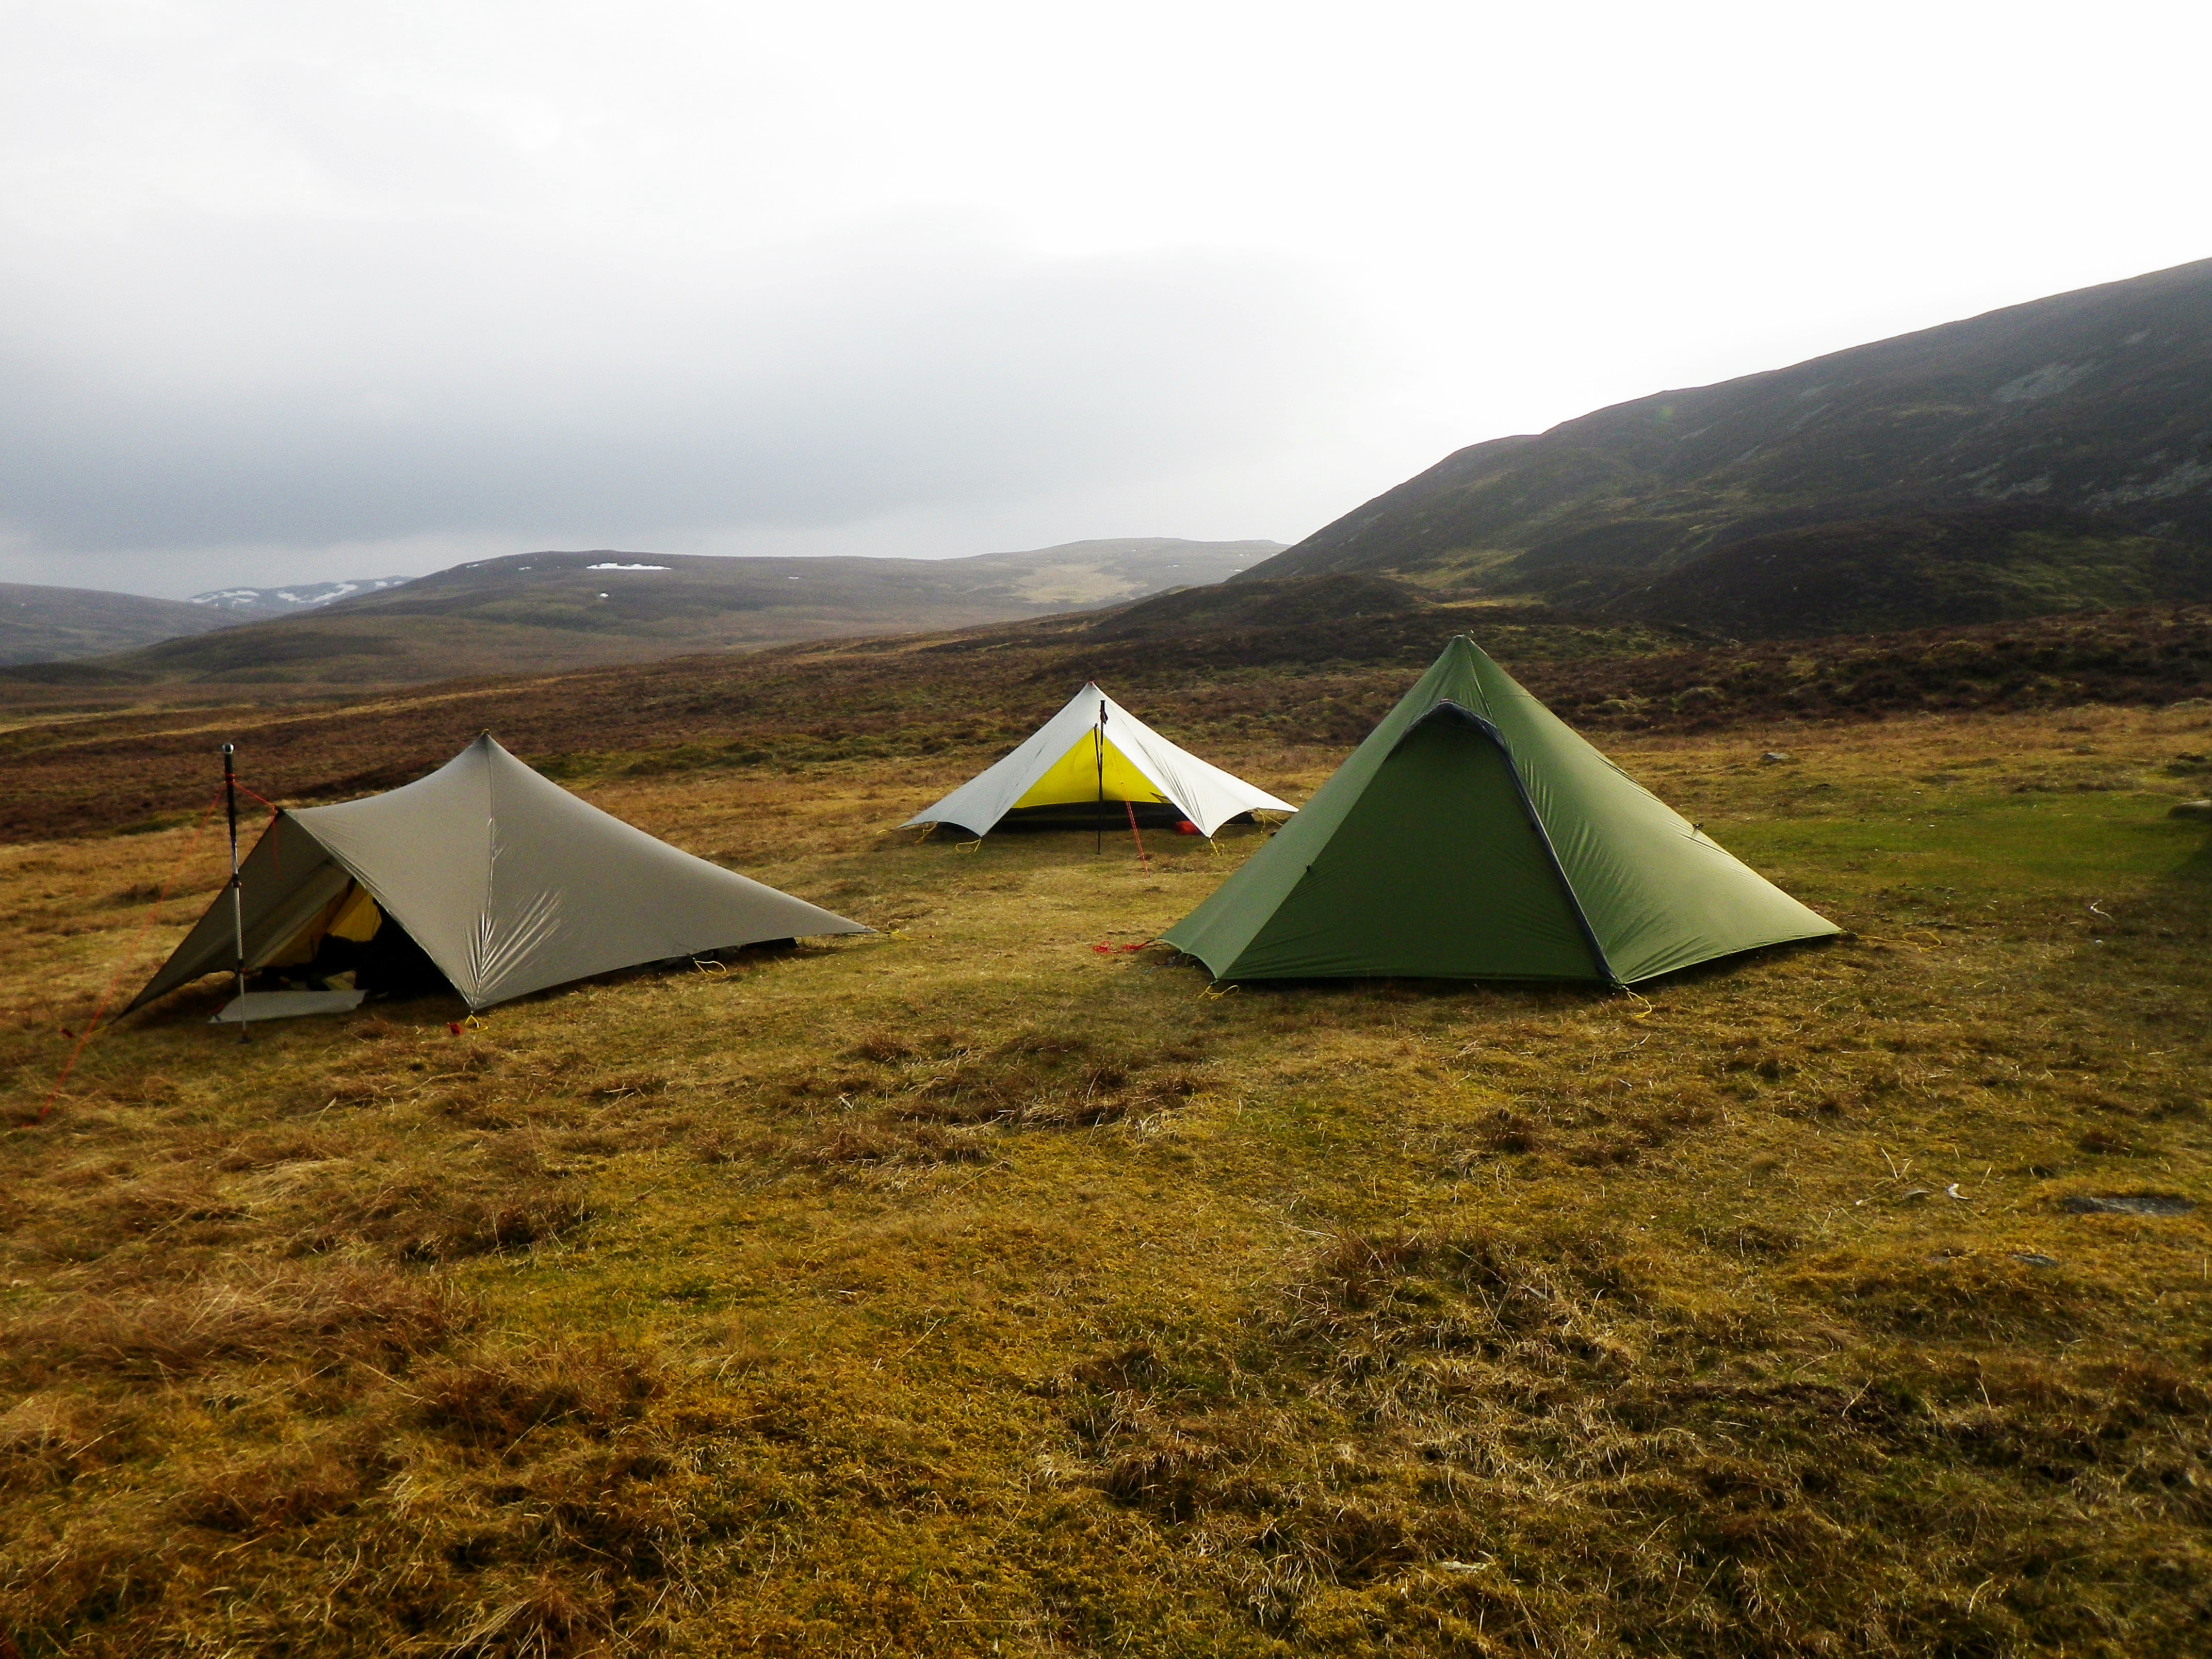
Pitched alongside 2 Trailstars. She looks good.
Inside the tent, there is ample room in the porch, and for me at just over 5′ 10″ there is good room in both porch area and also inside the inner, to get all my gear in easily, and also cook.

Double poles (no inner). Sorry about the thumb in the photo

Inside with inner down
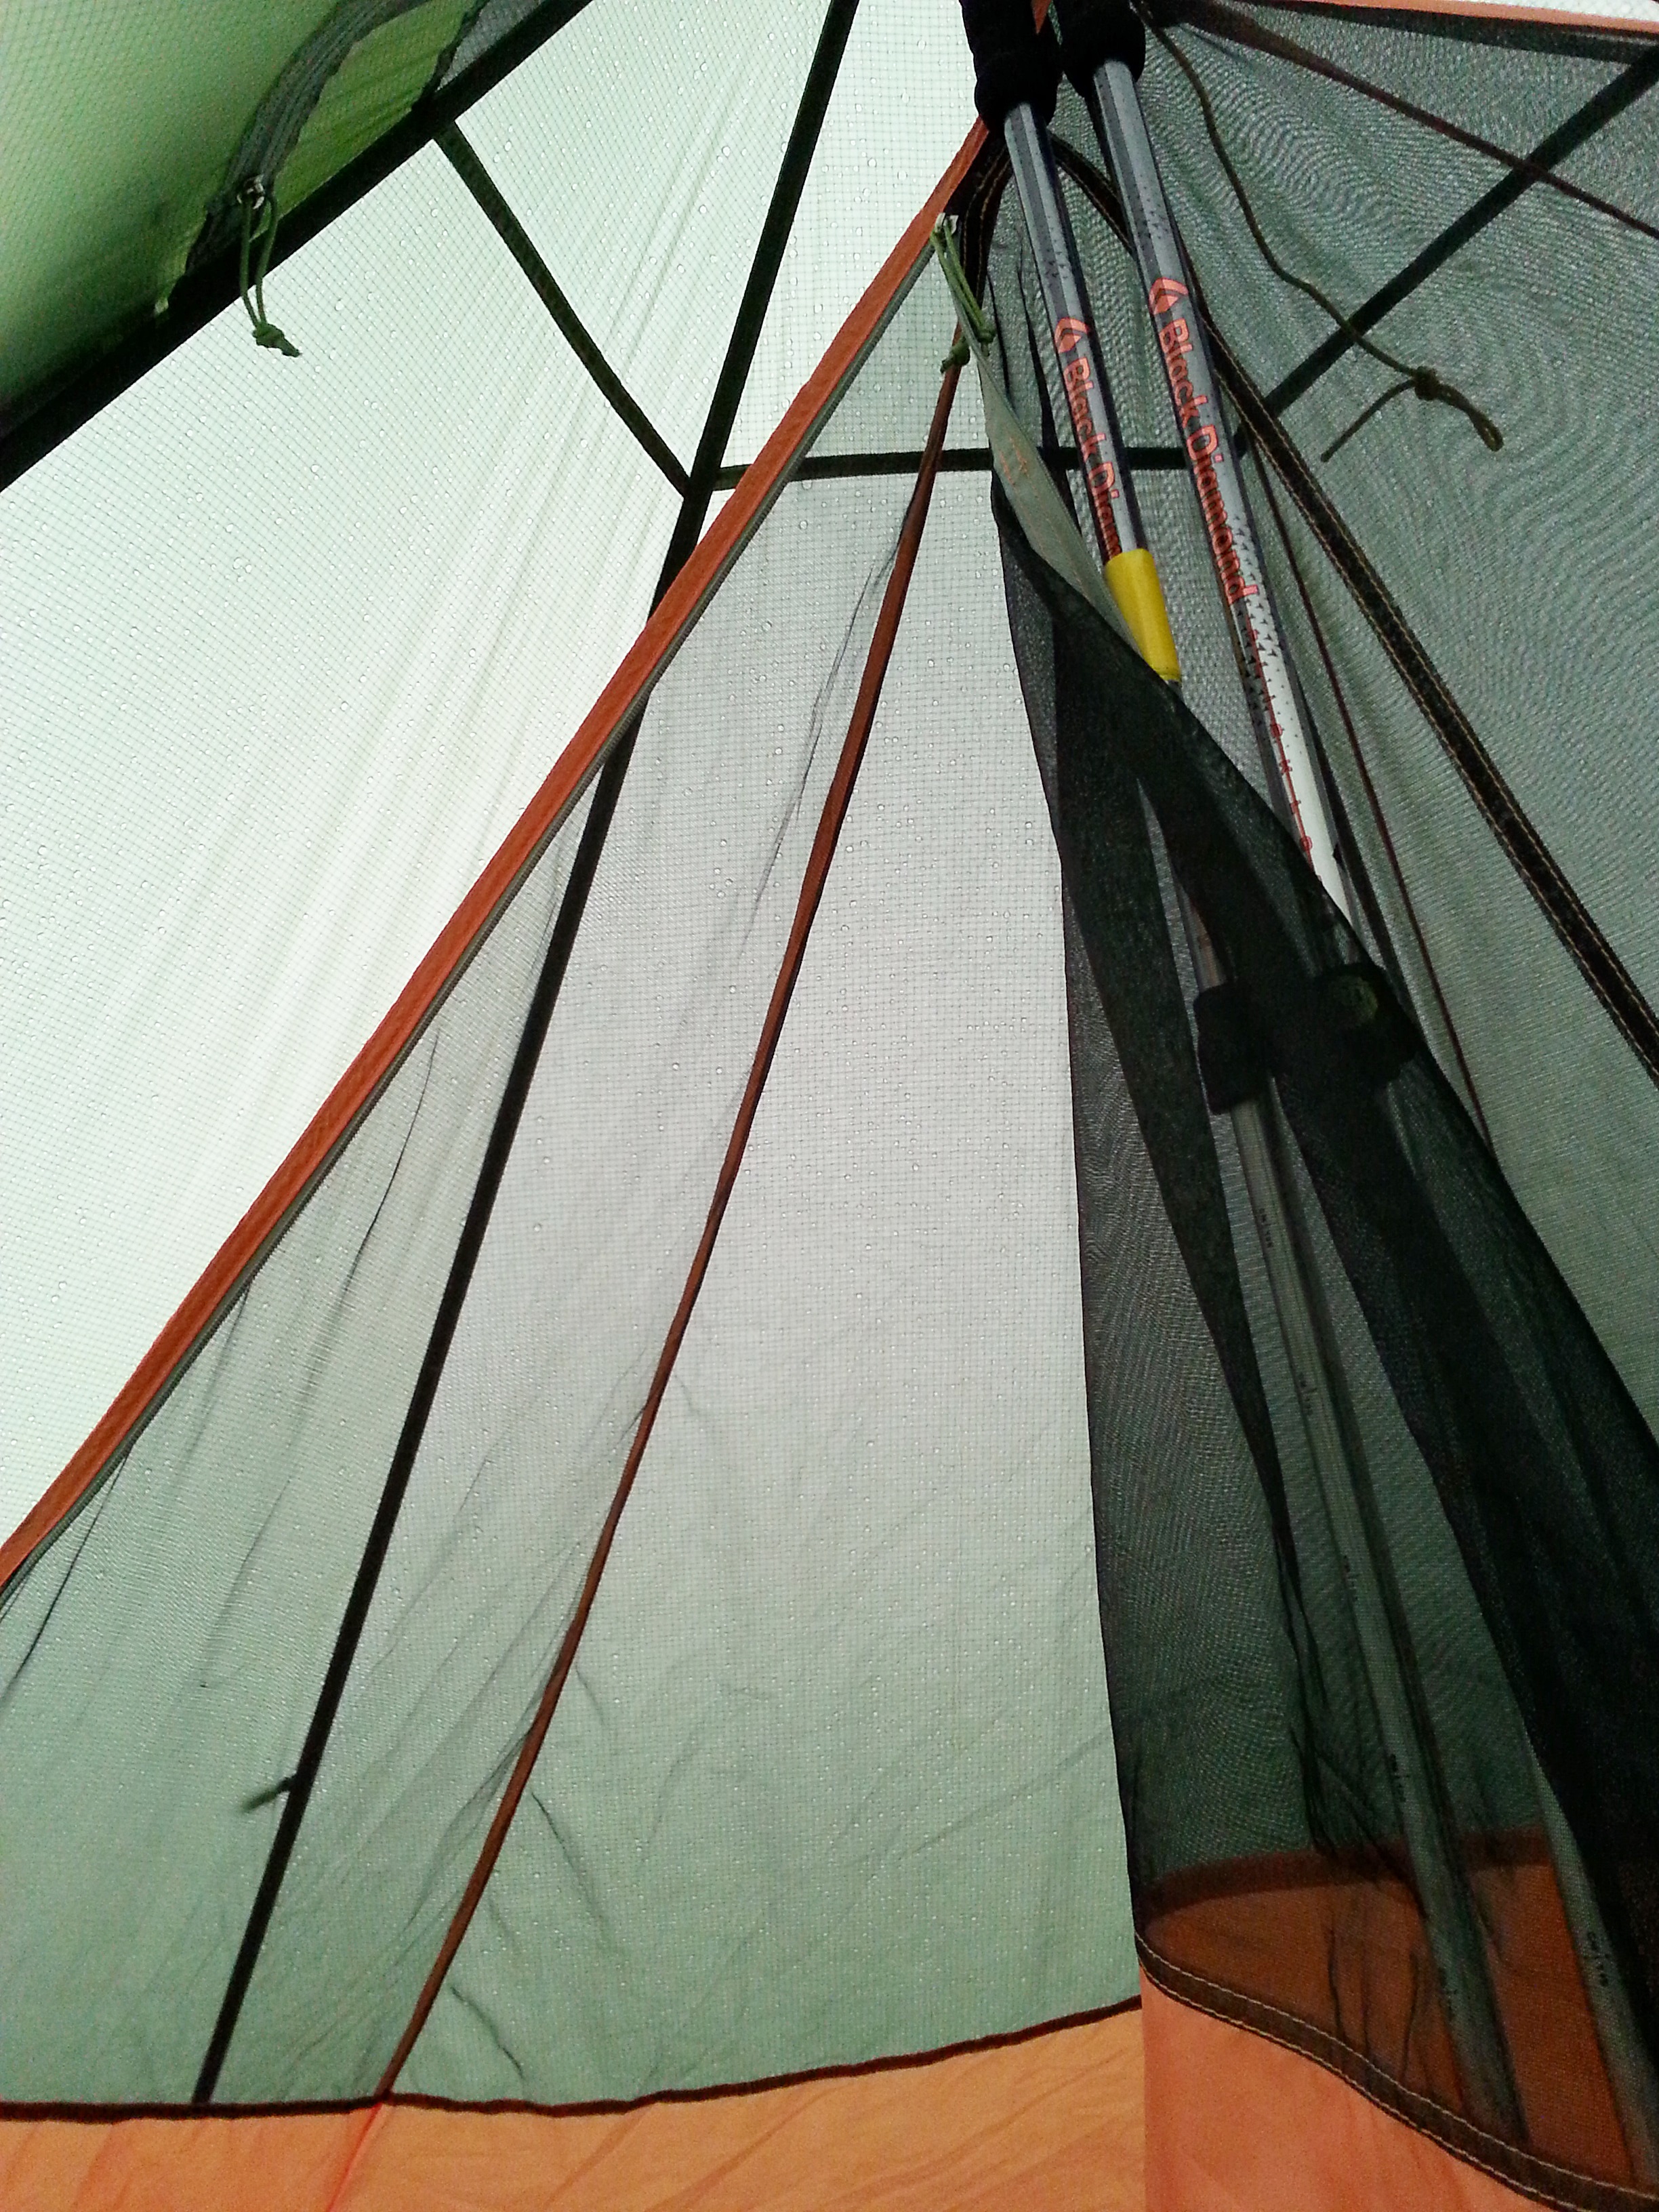
Looking up with inner attached
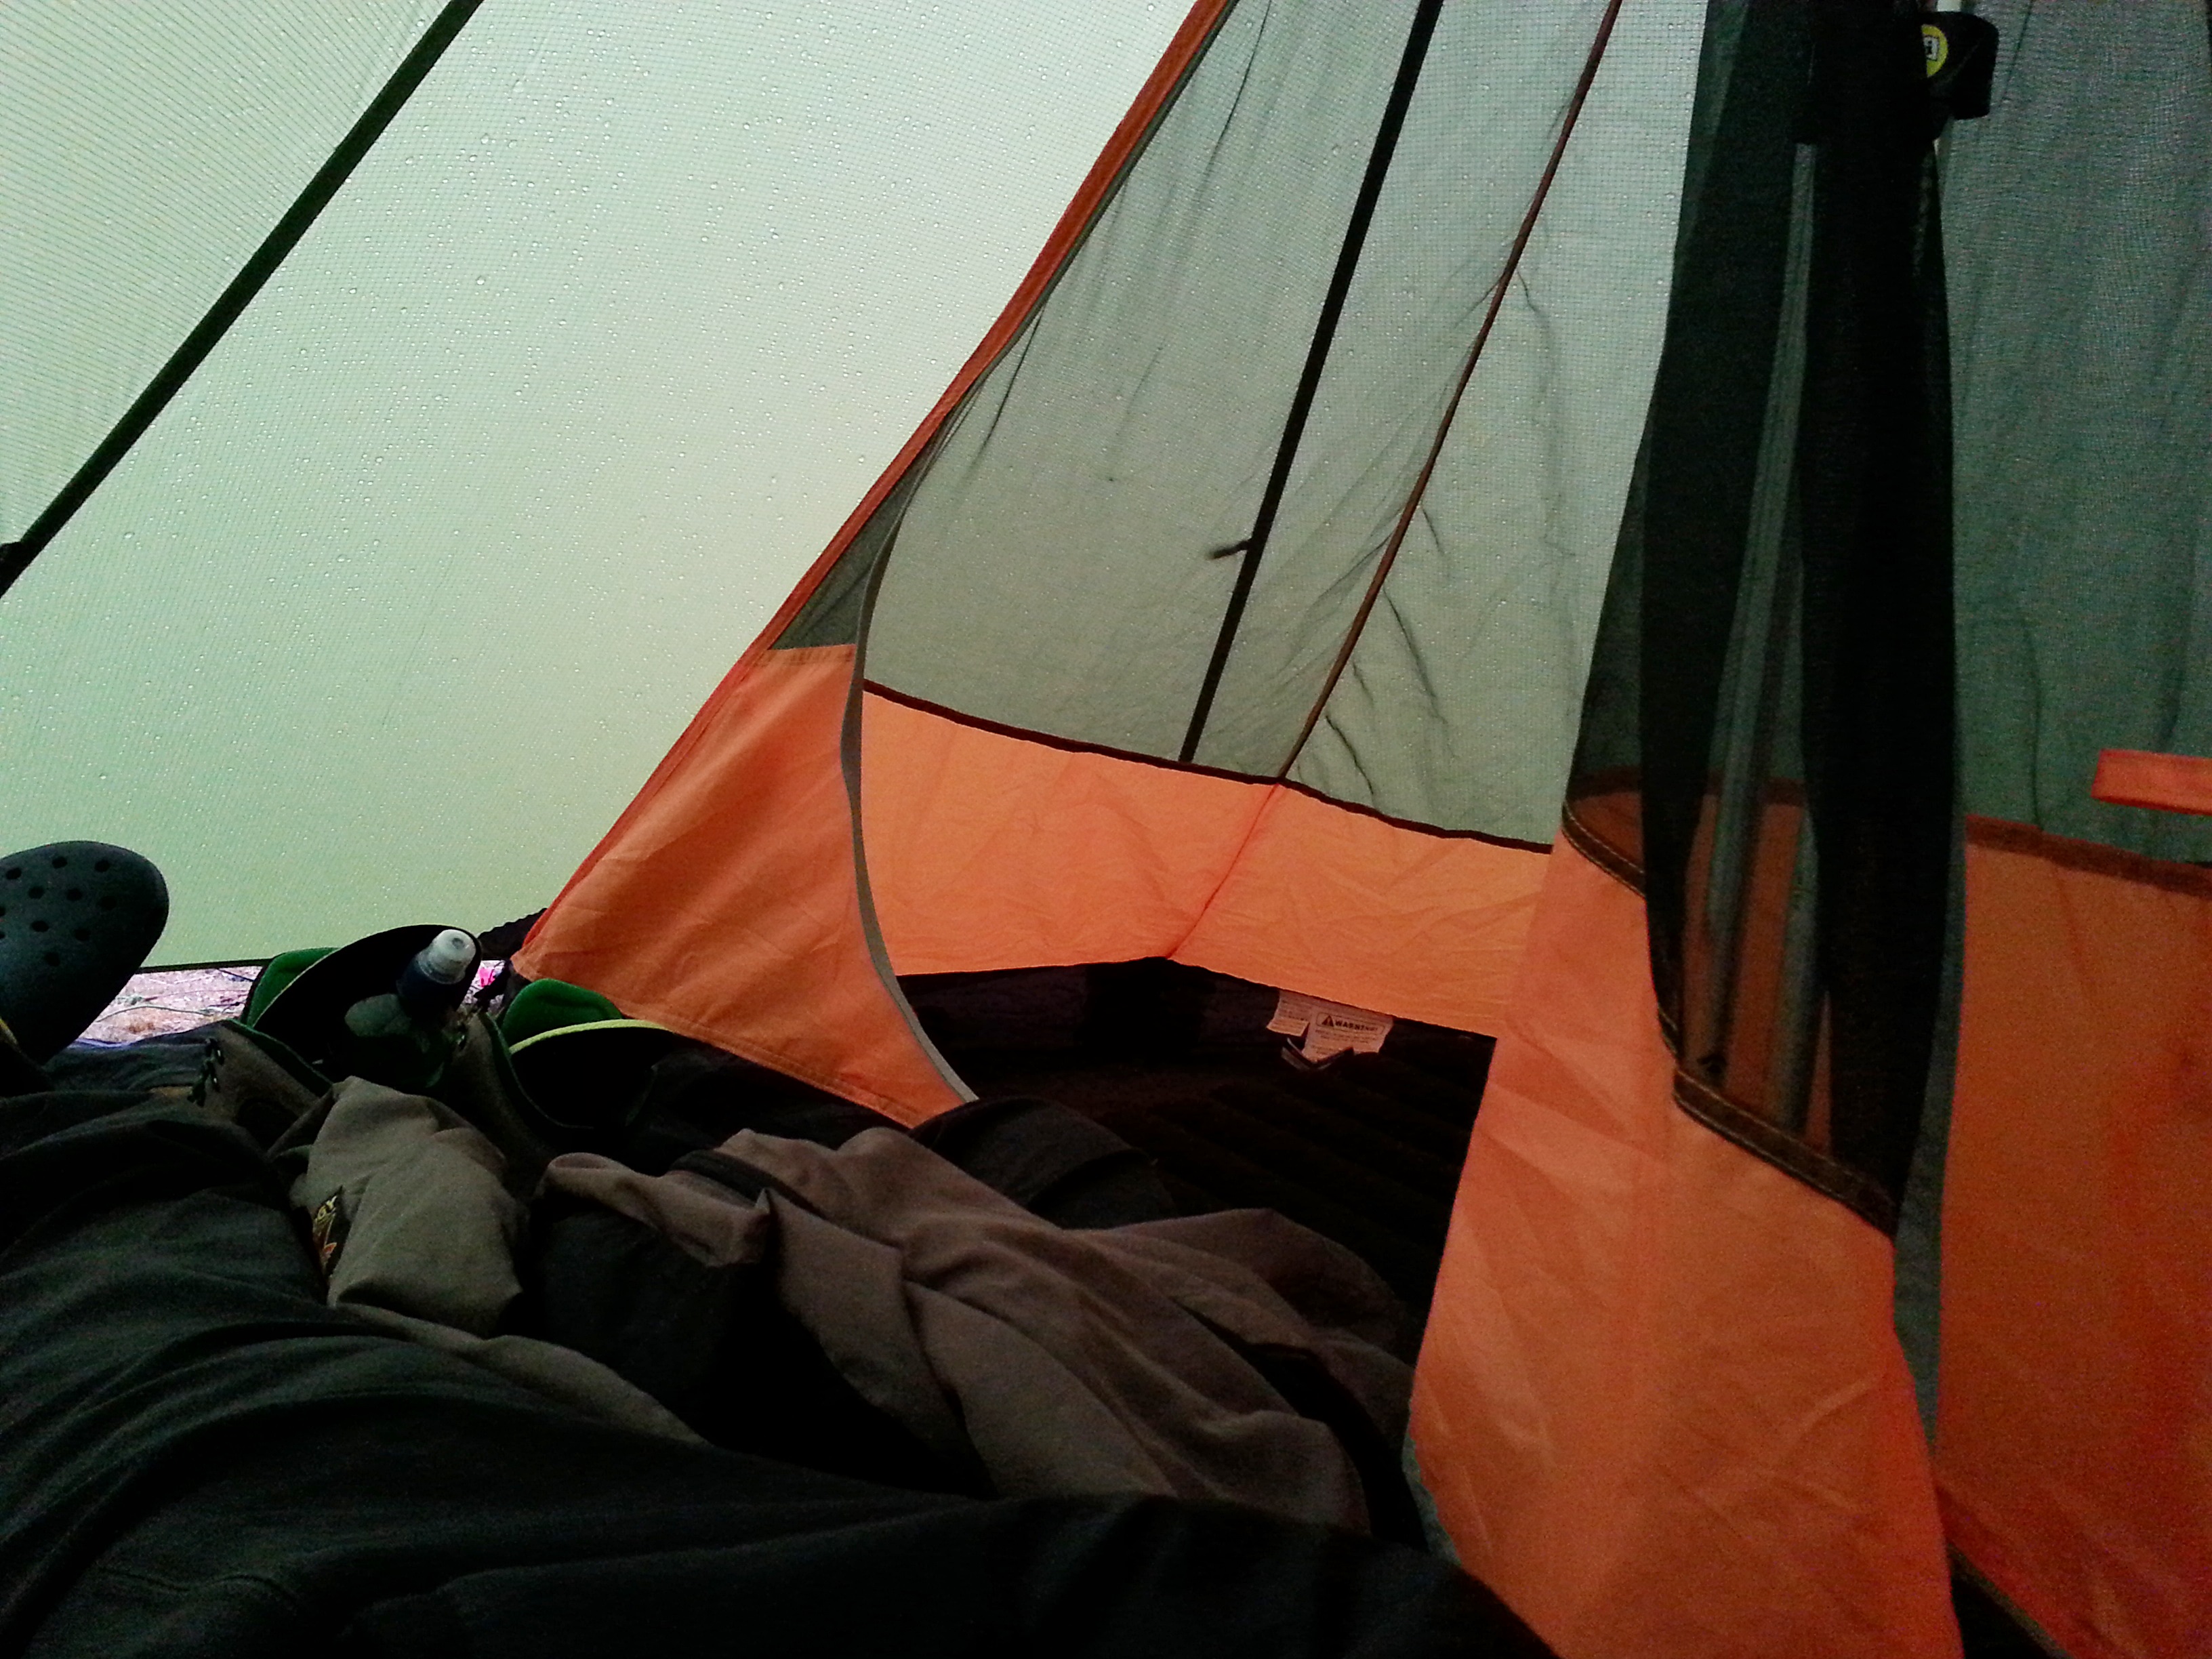
Inner from inside porch (me lying in porch)

Looking inside inner through door

Plenty of space in porch area. Could easily sleep a second person there in a bivi bag
It rained quite a lot that night, and even though the inner is half mesh all round, I was warm in just an old sleeping bag that only goes down to just above zero.
The tent was rock solid, and once pitched correctly, the inner did not touch the outer.
Indeed not only that, but there was NO condensation at all inside the outer, and I do get that on my MLD Trailstar, and on my Warmlite 2R
Indeed not only that, but there was NO condensation at all inside the outer, and I do get that on my MLD Trailstar, and on my Warmlite 2R
Weight??
The spec on Bob’s site is approx 1100g
I would say, that with Change of Guy lines, robust seam sealing, and bigger better pegs, plus a bit of extra guy line (just in case) it comes in at closer to 1550 g in my spec.
I also added some sil nylon groundsheet for the front, and a couple of spare pegs just in case, and mine came in at approx 1700g
I also added some sil nylon groundsheet for the front, and a couple of spare pegs just in case, and mine came in at approx 1700g
So, in conclusion ……
This for the money, (£159.00) from Bob, appears to be a pretty good little shelter, which would easily do as a single skin with a groundsheet and bivi bag.
However, Luxe need to look into the manufacturing standards on the inner, and improve them for peace of mind.
Definitely double pole it, and if you have shorter poles, then get an extender from Bob, or a purpose built Pole.
I prefer the poles method because I don’t want to carry another pole equivalent just to put a tent up
I prefer the poles method because I don’t want to carry another pole equivalent just to put a tent up
I would also like to see 3 mm cord all round, and maybe the inner done with 2 mm shock cord rather than static cord.
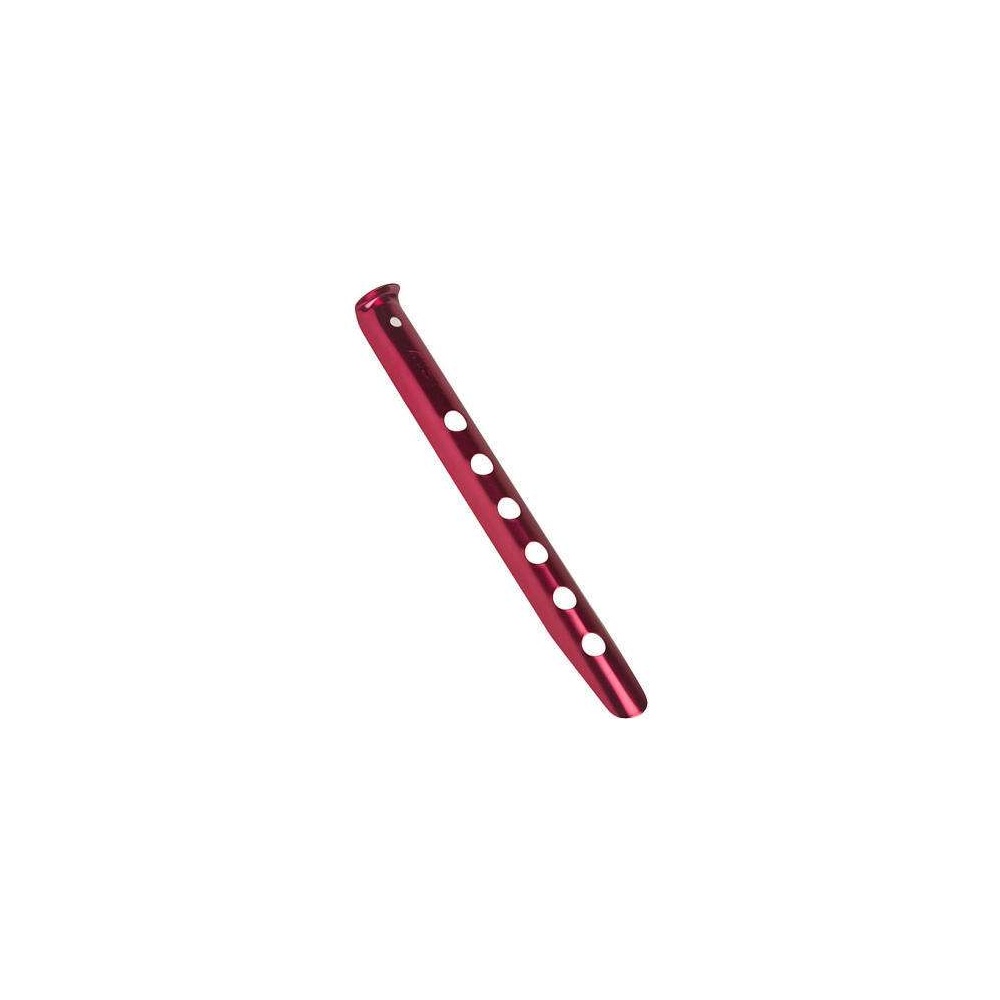
Finally, better pegs. The purple 4.5″ (approx) pegs that come with it are just too short.
You need 6″ decent pegs minimum.
I used
You need 6″ decent pegs minimum.
I used
MSR Blizzard stake at the back
and
CLAM CLEATS Tornado pegs on the rest.
I also used some of Bobs small titanium skewers to peg the inner at the front.
Now, with all those things fixed and done this would be a great little budget shelter.
But if you want a good value tent, it is definitely worth a look.
But check out the sewing.
But check out the sewing.
Will I be taking it on the TGOC this year?
NO!
Not because of the tent, but because I own a Trailstar and a Warmlite,
and I want to use this some more on shorter trips.
and I want to use this some more on shorter trips.
But, if I did NOT have a tent, and wanted to have a go with a Pyramid Tent, and my budget would NOT run to MLD or GoLite Gear costs, I most definitely would.
In fact, as I said, it is off to the Lake District next weekend.
Good review Andrew. I sure hope the outer is put together far better than the inner. It looks like something i would have made not a skilled machinist. I hope Bob has words but i guess it will be difficult to get anything quickly sorted out with China.
ReplyDeleteHope your trip was a bit warmer than ours.Ha And have a good daunder in Cumbria.
My experiences with the HP are much the same. Infuriating! For the pole extender simply use a length of pine about 1 1/2" in diameter and about 7" long with a tapered hole bored into it for the point of the pole to sit in. Most standard length poles (130/135cm) will then fit. Once dry mine weighs 60g.
ReplyDeleteThat's a damned fine idea sir. I am liking it. Indeed, I shall try it out when the hex Next goes out.
DeleteThat will have to be after knee operation in June though.
I shall be taking the Trailstar in May
Rumour has it that the next incarnation of the hex (especially the inner) will have improvements, and better quality.
A second pocket and a T zip on the entrance spring to mind, so it is easier to sleep at either end.